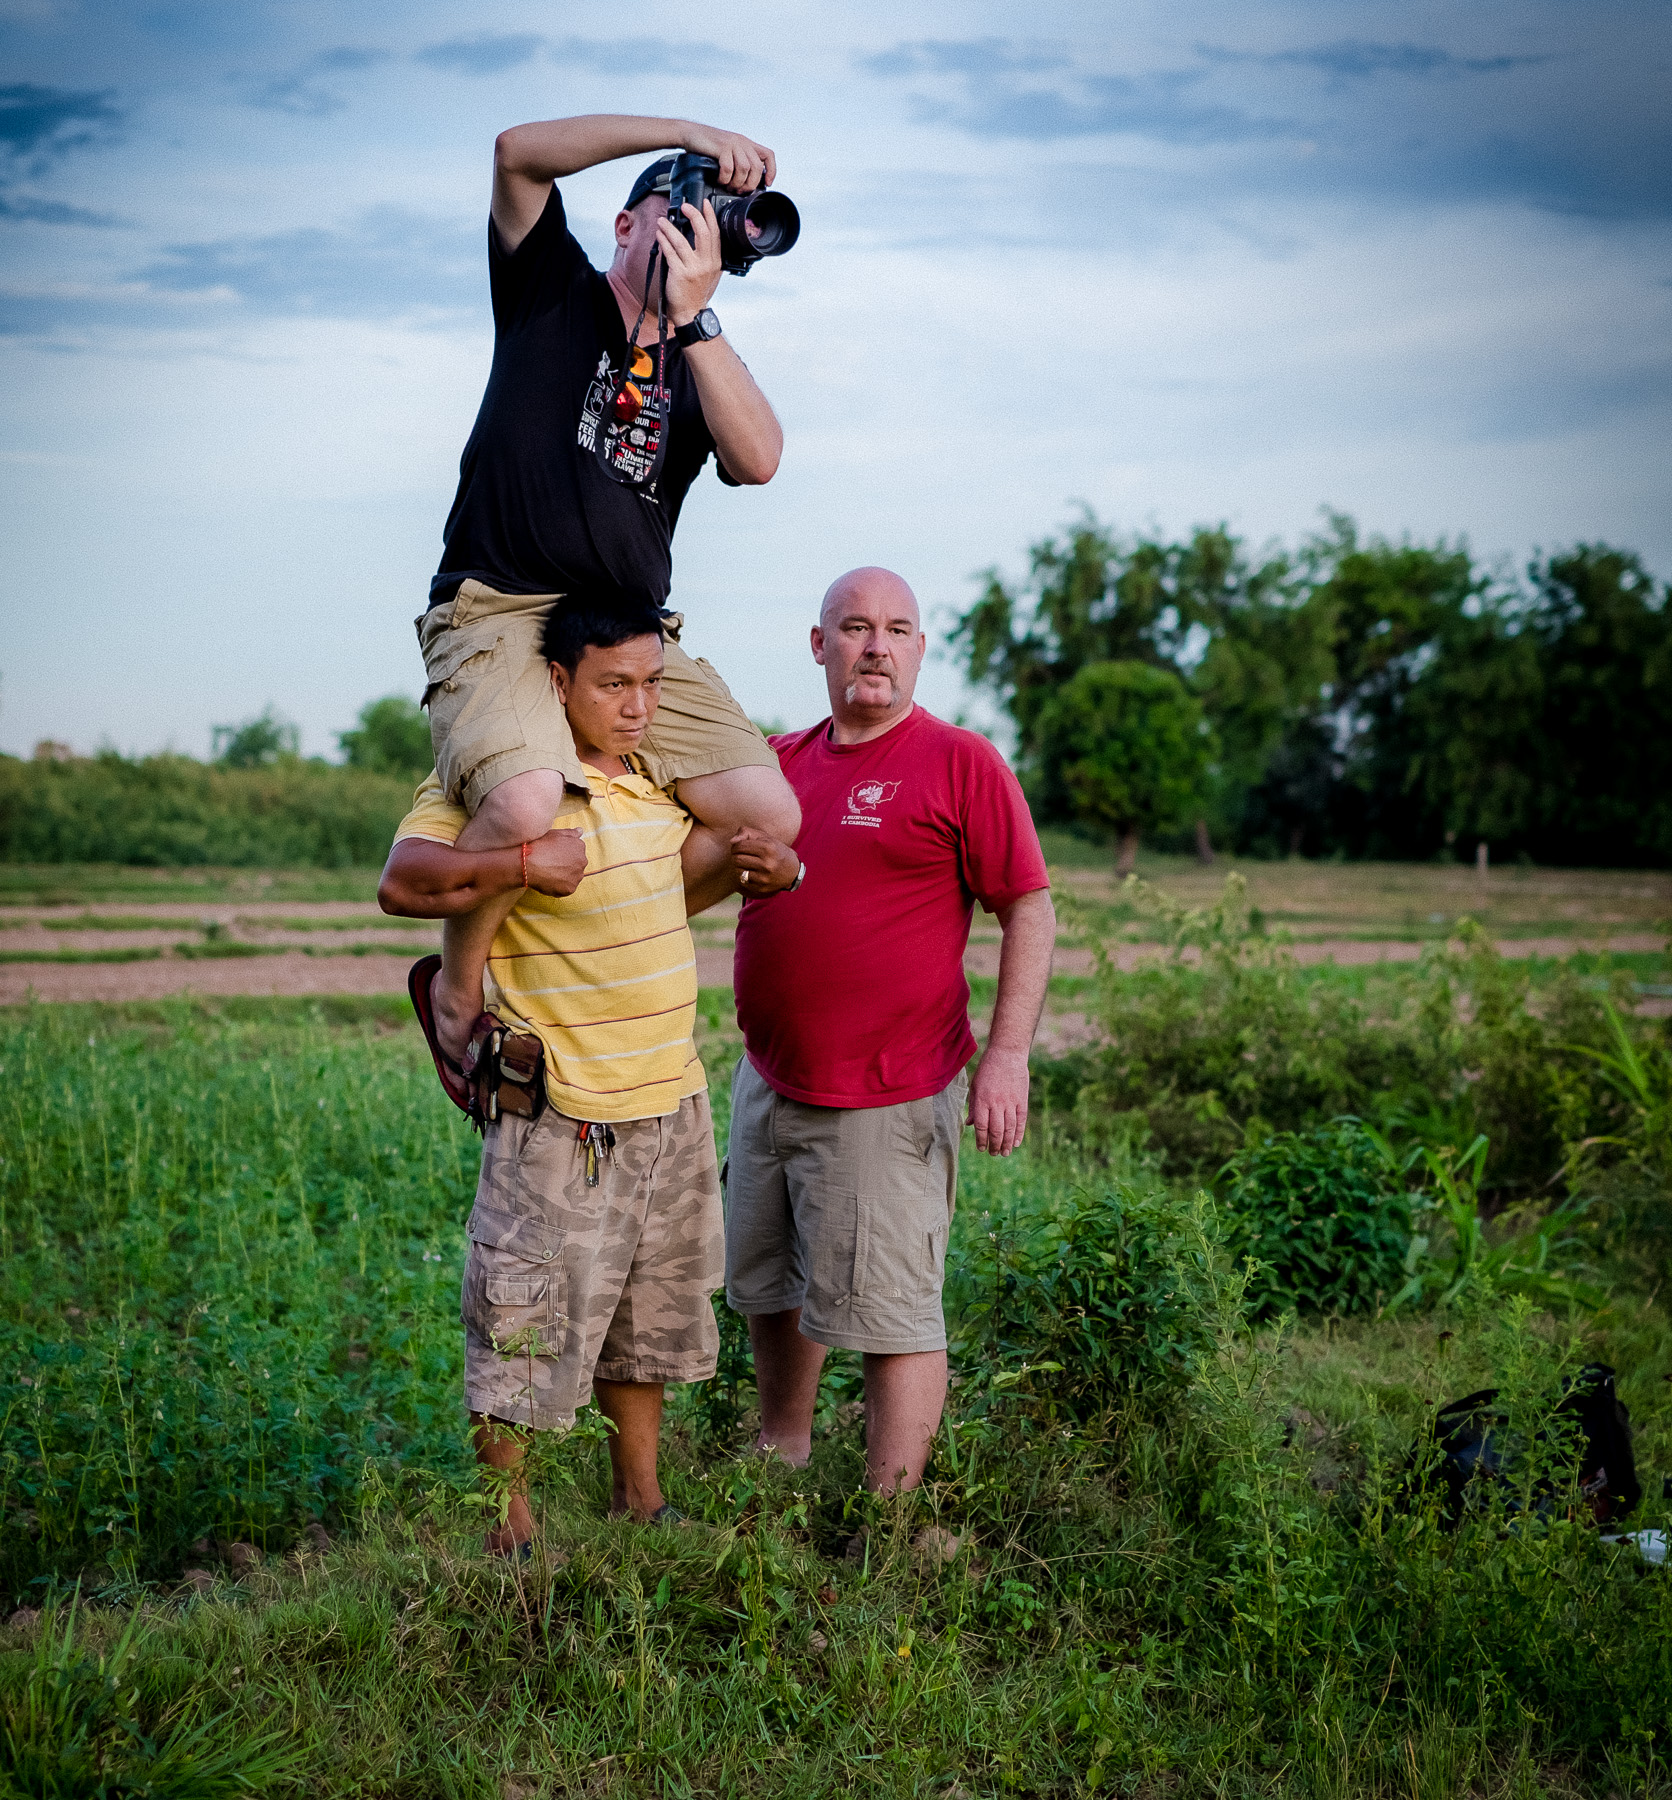
The last few days when I've been out jogging I found some BIG spiders hanging in the bushes on the mountain....
As scary as they are to me, I thought it would be kinda cool to take a few pics of them at some point. I did a bit of research online to find out what kind of spiders they are, and it seems they are called Golden Orb Weaver Spiders, here's the (wikidpedia link if interested), they do have neurotoxin venom which is dangerous but not lethal to humans....here is an image showing the spider and how it gets it name from the golden orb you can see clearly at the base of its back.
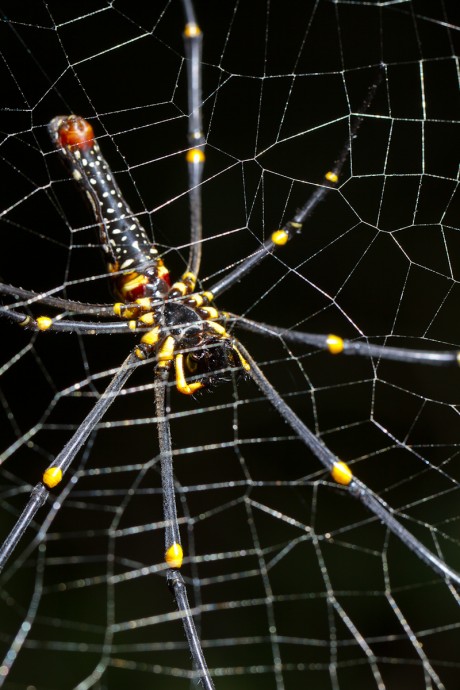
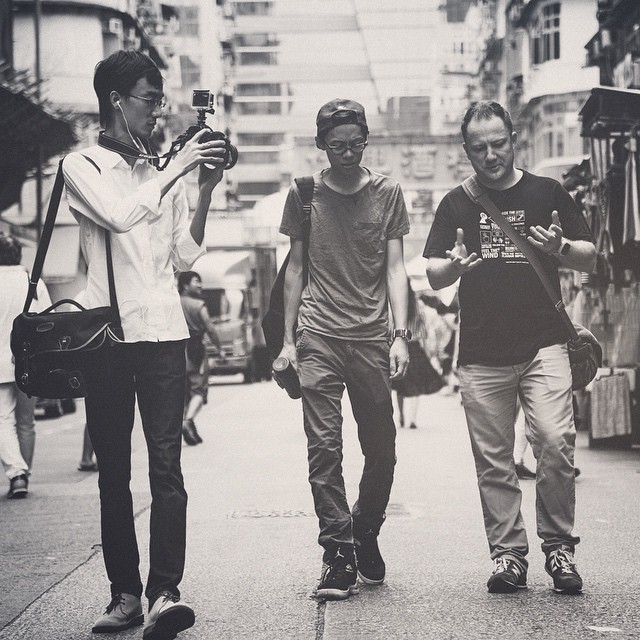
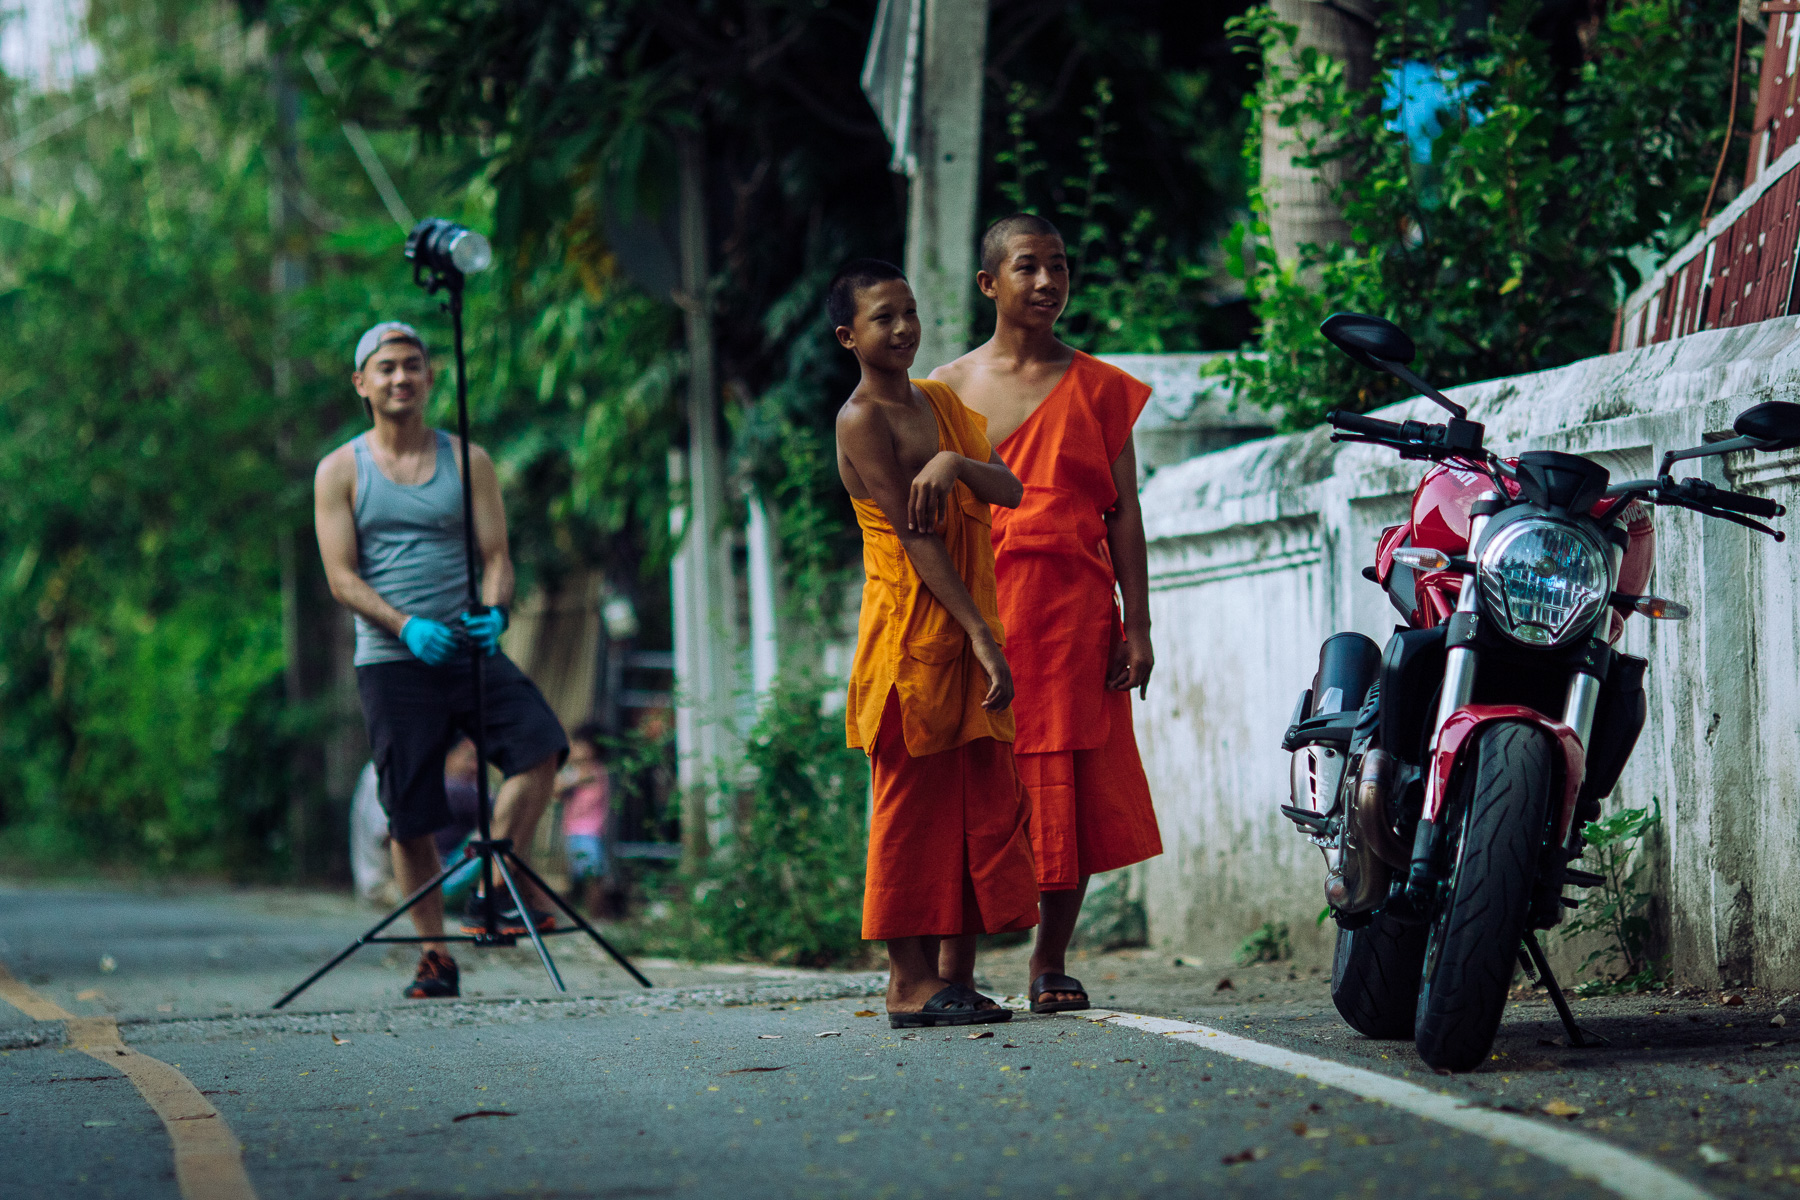
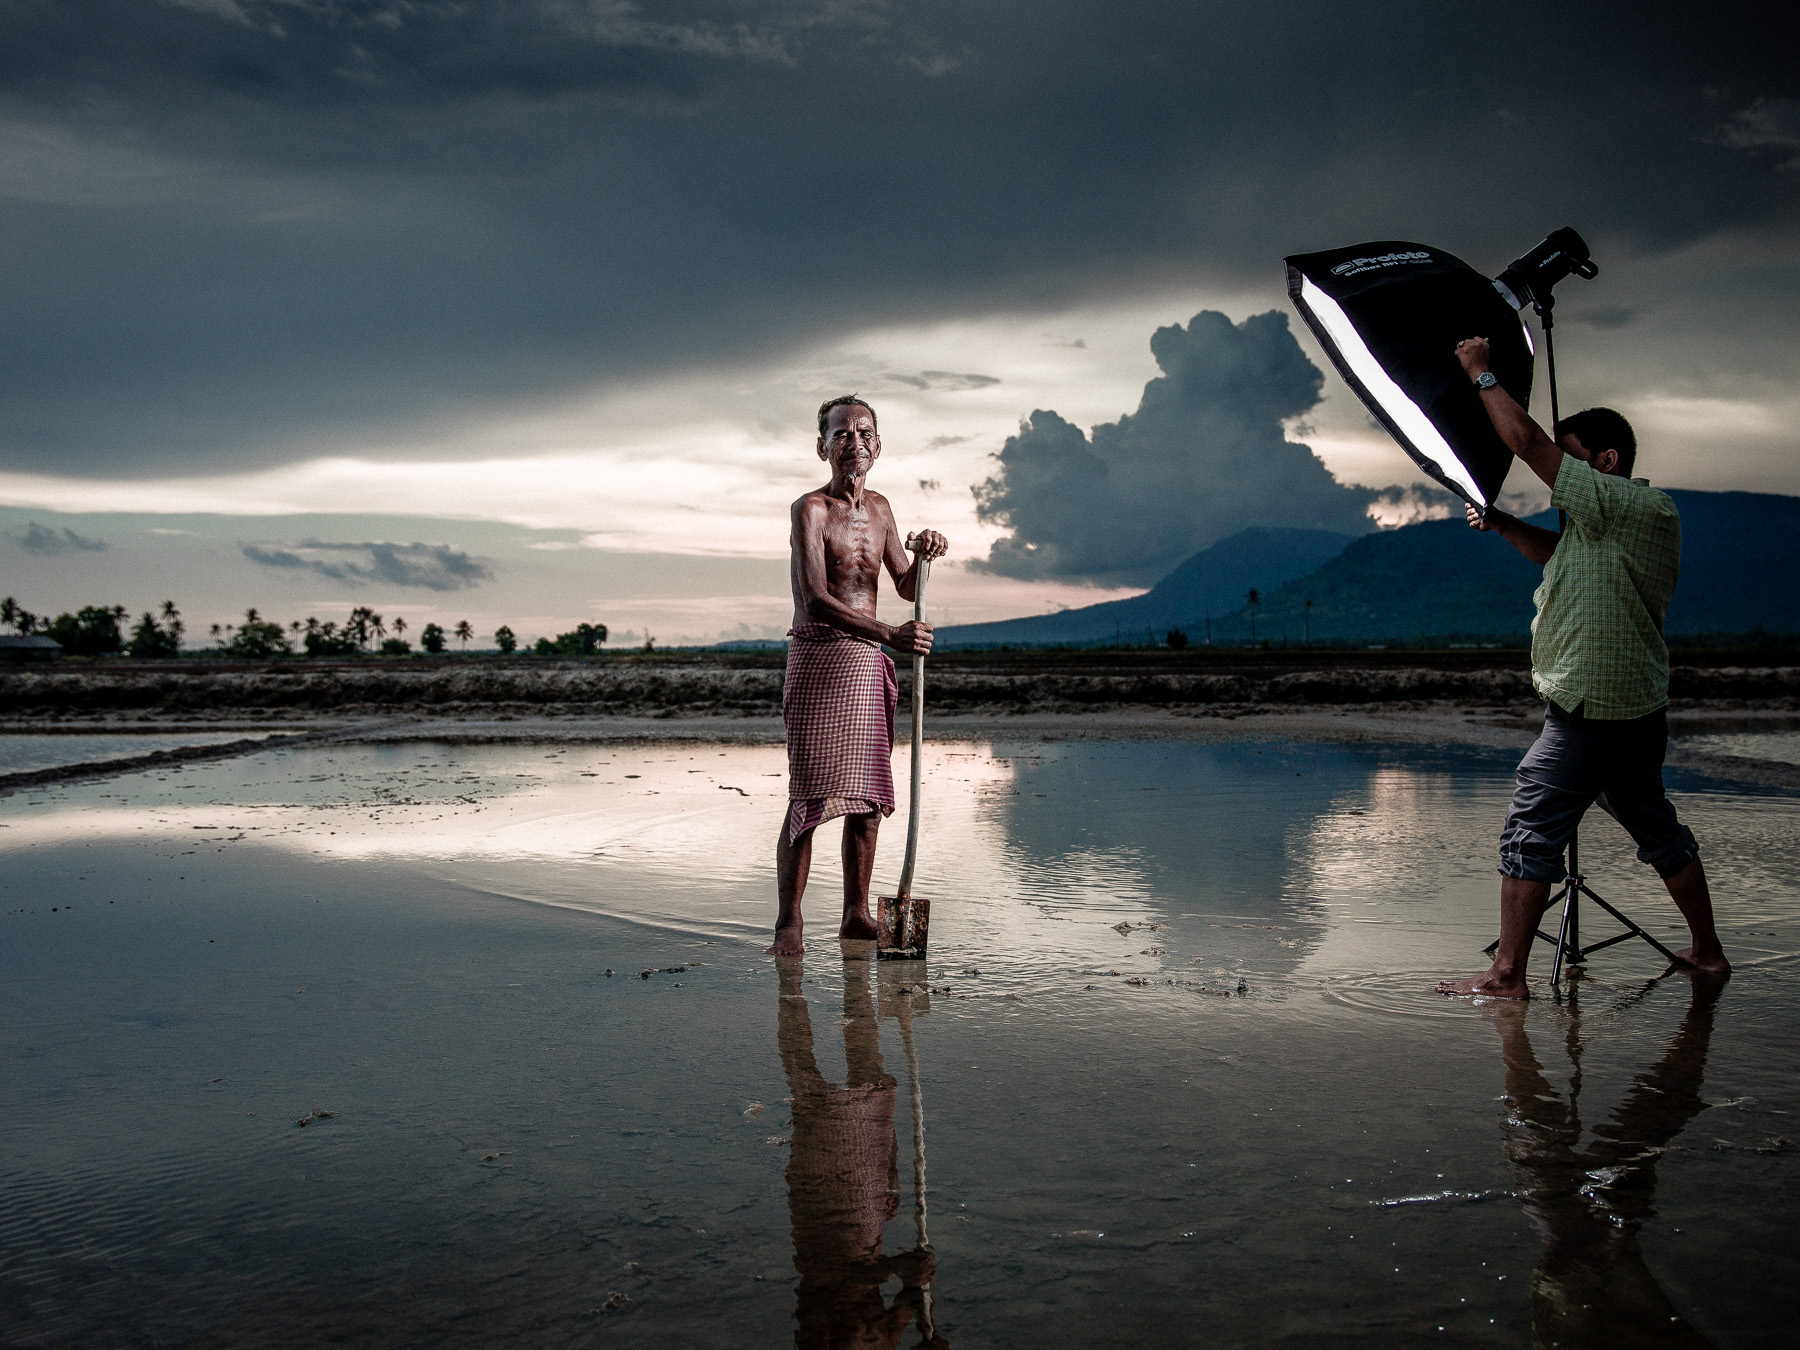
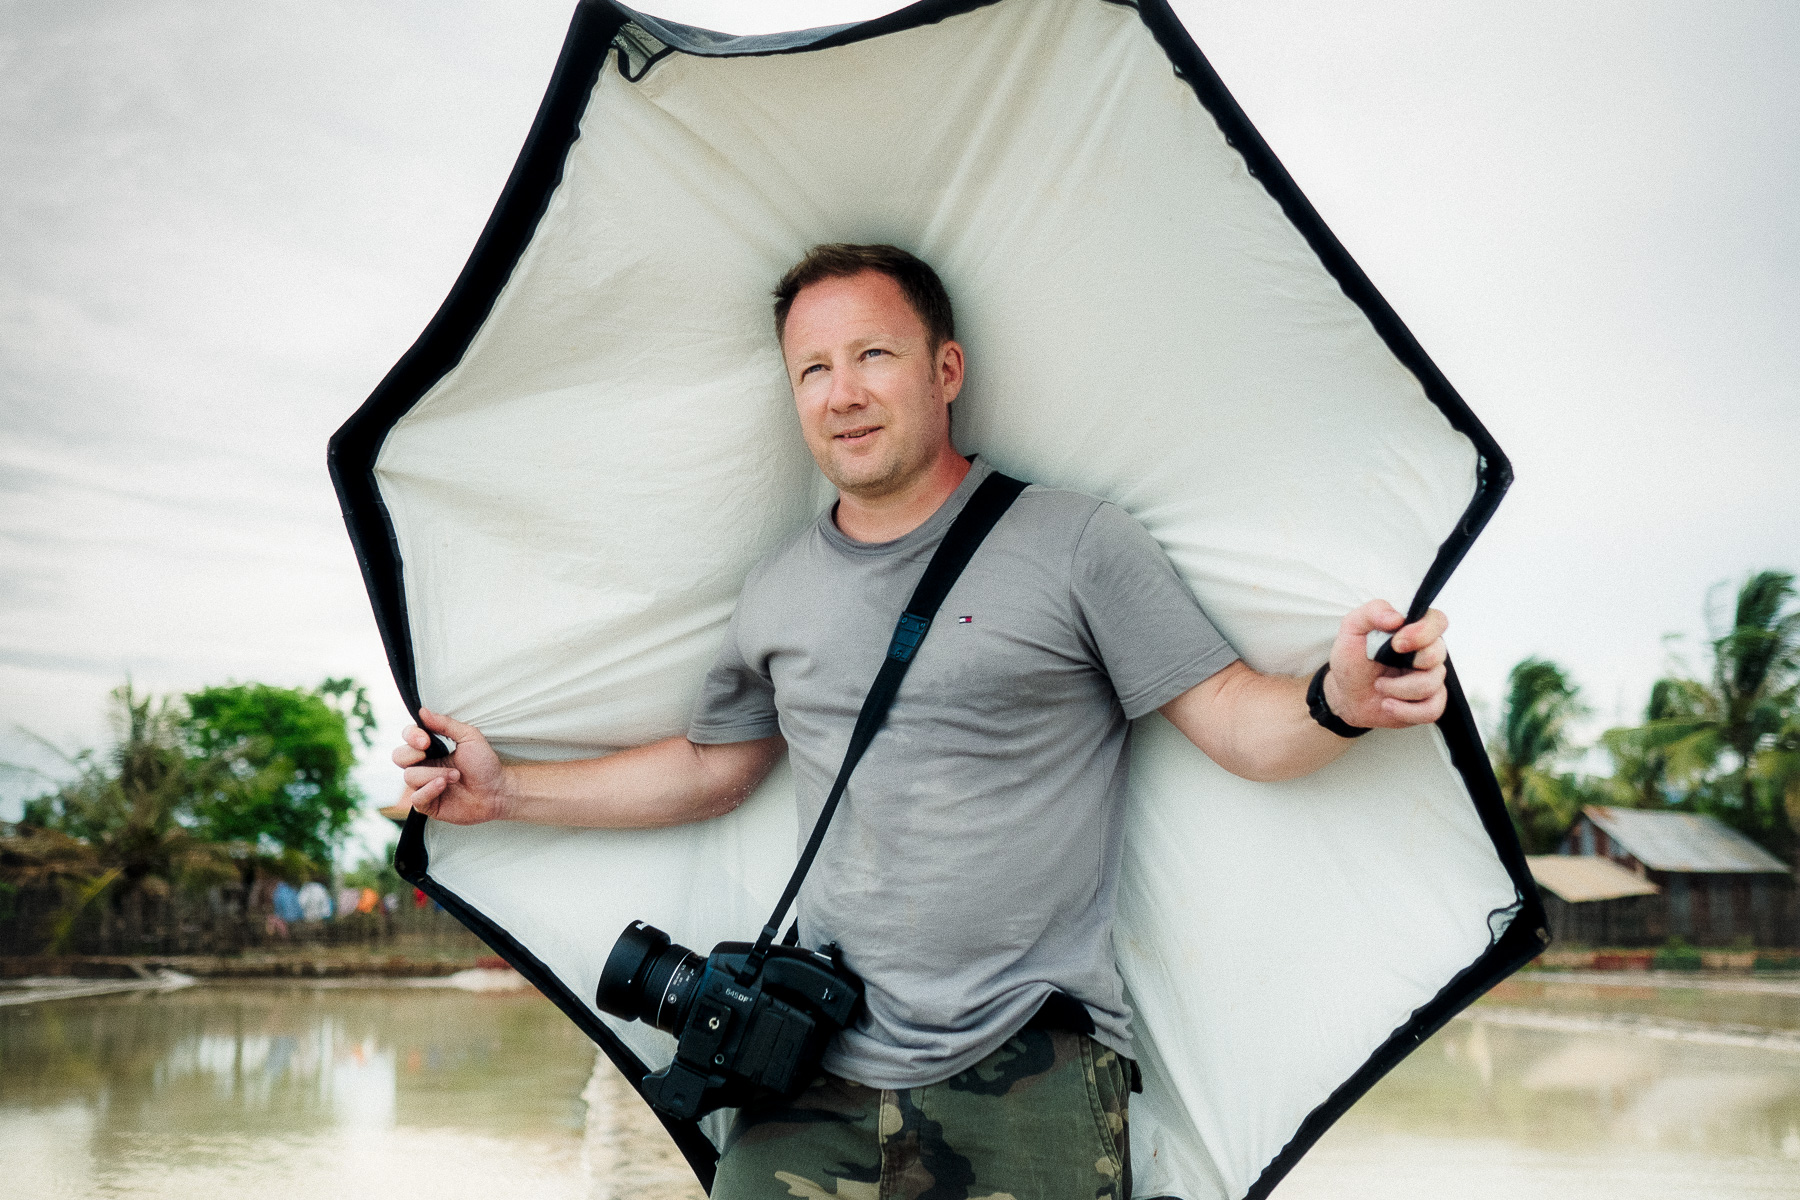
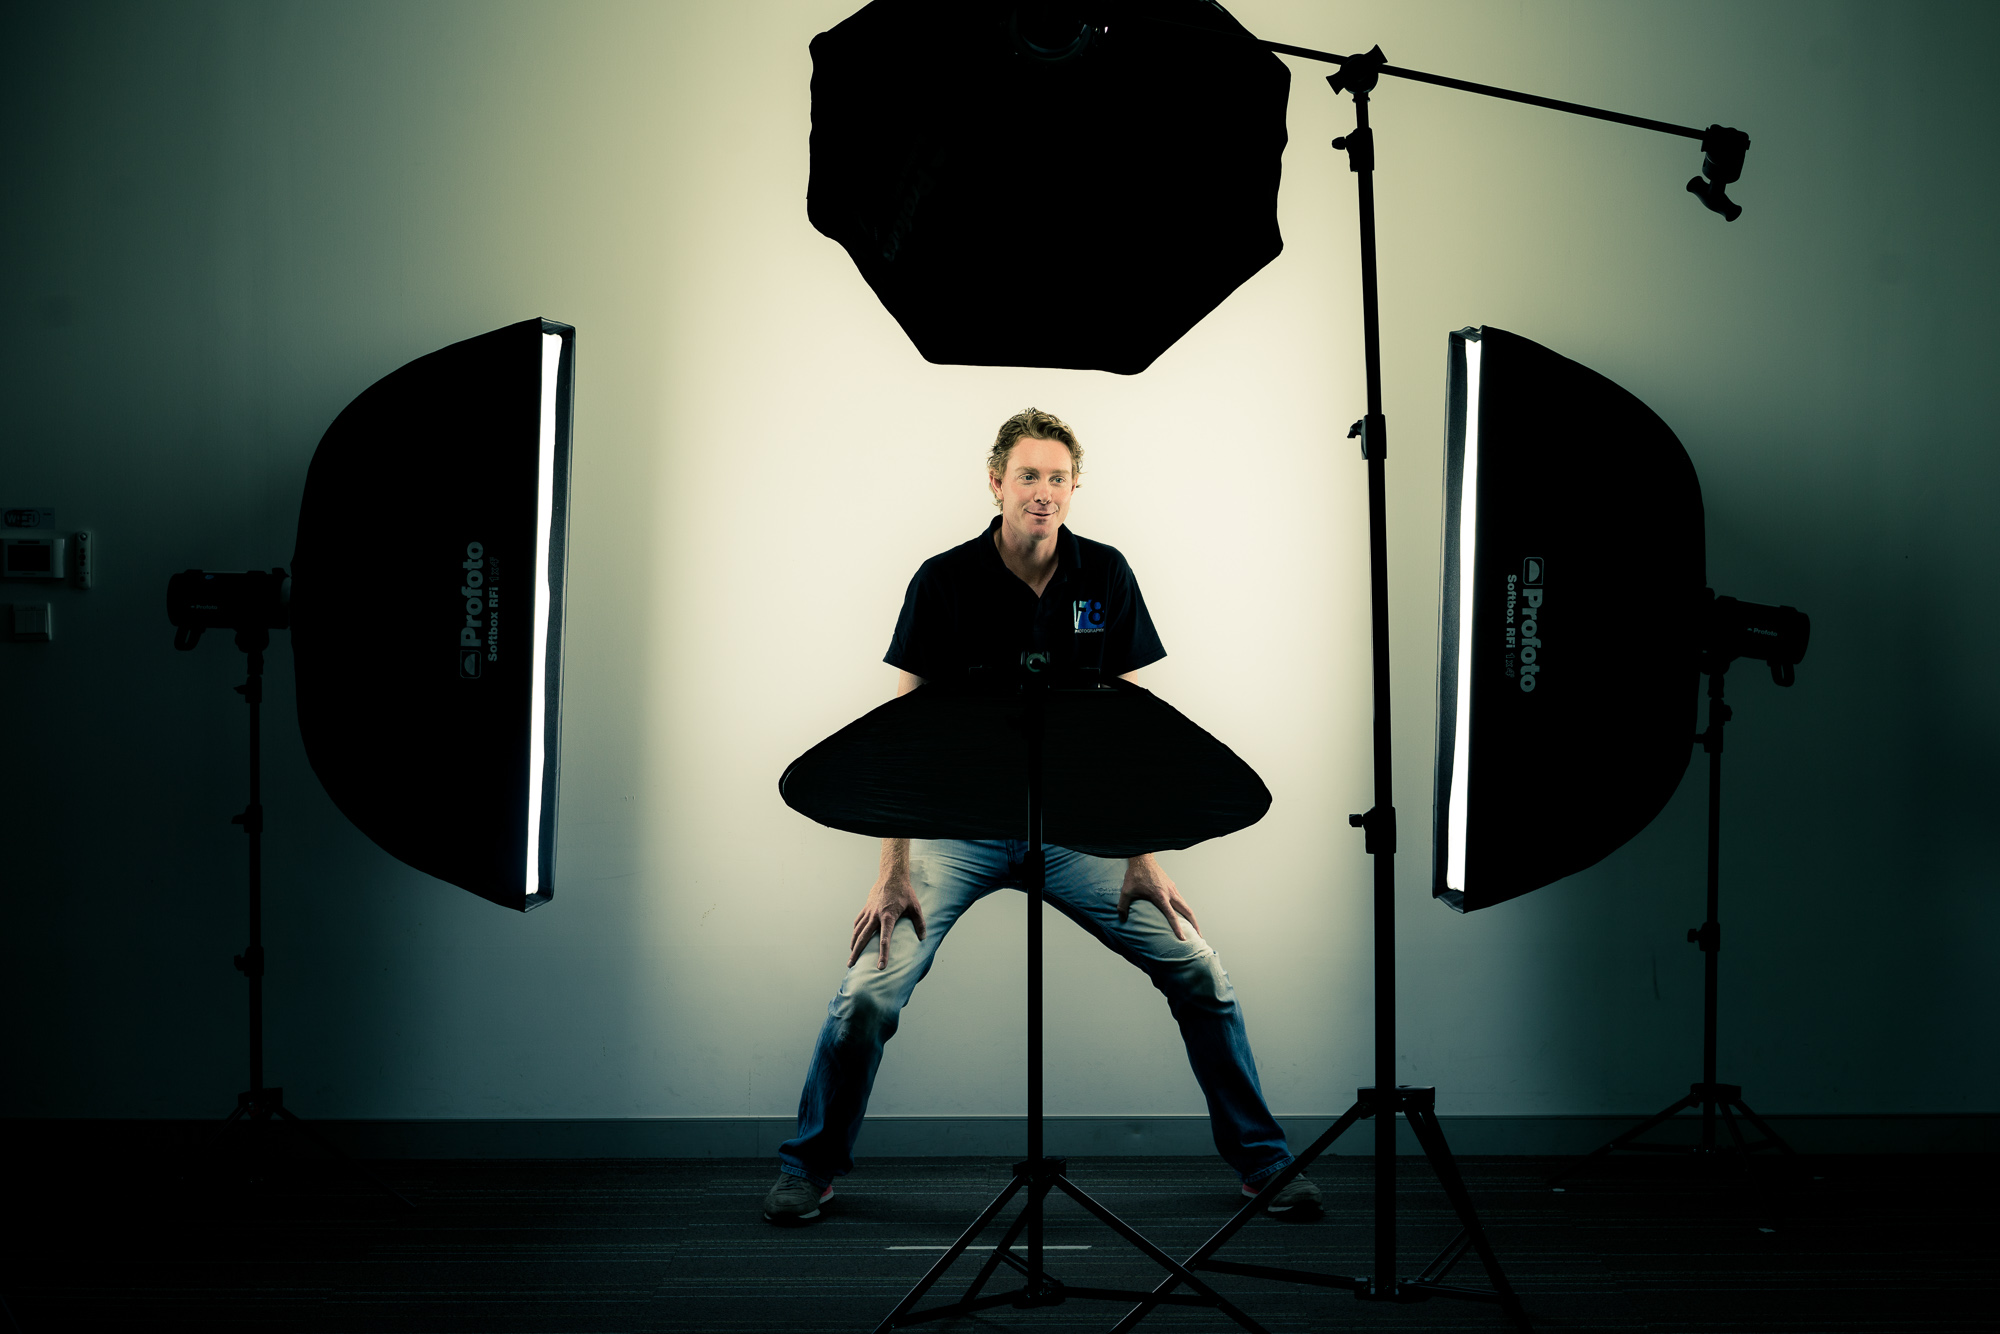
Anyway, the purpose of this blog post is not a wildlife lesson, but more a quick insight into using speed-light flash (off camera) and how it can be used to enhance or help light a subject and how we balance the 'ambient' light. One of our trainee assistant photographers called RJ is learning more about flash work and he also has a big interest in macro photography and wildlife so I thought he would be the perfect candidate to practice some flash techniques with these spiders and help him to learn flash balancing at the same time. Everything to do with flash and balancing light applies exactly the same if you are photographing insects, humans, or anything else for that matter.
So, we set off on the trail, and as there had been a typhoon the day before, I was not optimistic about finding any spiders due to their webs having been broken up by the wind, but sure enough after 30 minutes we found loads of these monsters! These critters look pretty hardcore to me and clearly aren't concerned with Typhoon 8 weather...
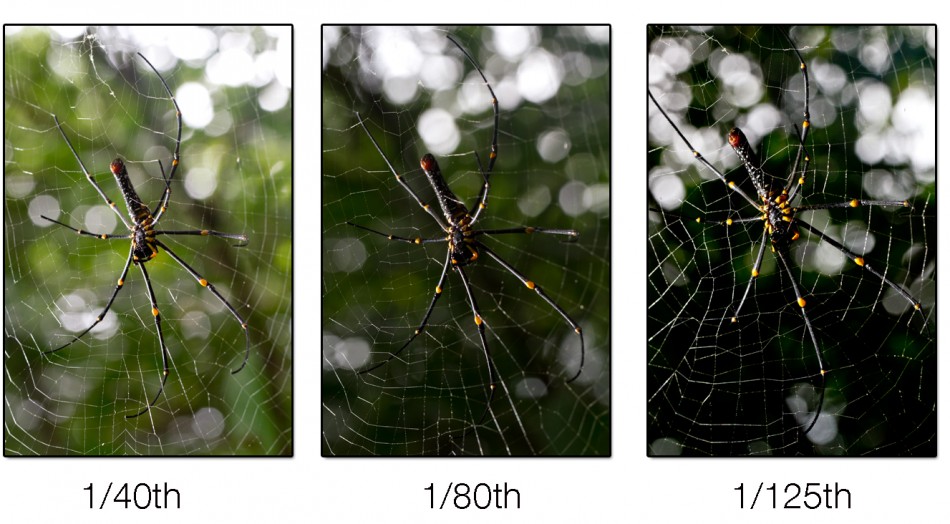
The idea of the trip out was to show that flash and ambient light can easily be controlled separately. Once an exposure is attained, to get more light in the background (ambient light), all you need to do is adjust the shutter speed slower - to make the background darker you just do the opposite and adjust the shutter speed faster.
The first test shot RJ did on a caterpillar demonstrates a fast shutter speed (1/200th), which cancels out all of the ambient light (daylight/light source other than flash)...This caterpillar was in broad daylight but the effect achieved is show below. (bear in mind on most DSLR cameras you are still limited to maximum shutter speed of approx 1/200th of a second whilst using flash (will differ slightly for different camera models), otherwise the shutter will close before the flash has finished exposing and effectively chop your picture in half). When using the flash on the camera, your camera will not let you shoot faster than its maximum 'sync speed' to help prevent this problem, unless you have high speed flash features enabled.

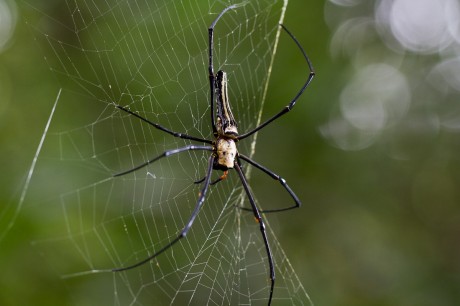
Once we found some of the big spiders, RJ tested out this theory again, firstly attaining a rough exposure with the flash and ambient light, and then adjusting only his shutter speed to effectively darken or lighten the background for different effects in each picture as shown below:
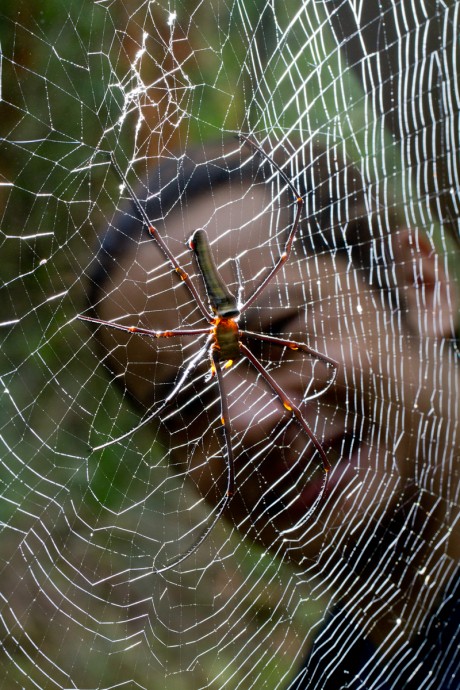
The other technique that I wanted to emphasize to RJ was using side lighting and back lighting with the flash....this can help give shape and texture to your subject and in this case really helped bring out the details in the web....if we were shooting portraits of people we could use this technique to emphasise shape, texture, hair details, etc, etc....its all the same idea, just applied to each subject how you like.
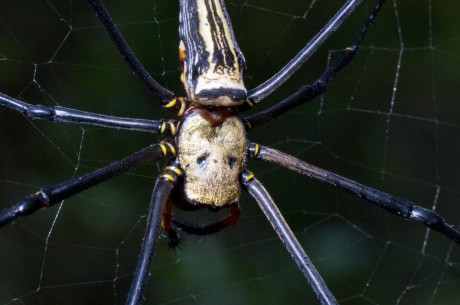
This next picture RJ shot shows a real close up of the back of the spiders head....we both agreed the damn thing looked like it was wearing the famous hockey mask that Jason wears in the 'Friday the 13th' horror movies...as if it wasn't already scaring us enough!....
Something we did in this picture as the flash was very close to the spider was to put some white tissue paper in front of the flash head which helps to soften the light like a 'mini-cloud' giving a diffused light effect...there are many props you can buy to achieve this effect, but especially for macro, sometimes a simple piece of tissue can do the same job!
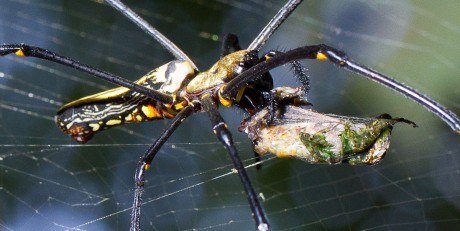
This last shot won't be too everybody's taste...but RJ found it interesting...to see this poor grasshopper looking insect had come to a very sticky end.....gives me goosebumps to see this close up....but again, the flash has really helped bring out the detail in the shot.
I hope this short post can be useful to anyone learning flash, it shows u can practice flash techniques on anything, doesn't need to be portraits, you can shoot anything at home or outdoors and learn these important techniques to balance flash with the ambient light.
Just remember, shutter speed will control your ambient light, and flash power can be controlled by the flash unit, bringing the flash closer or further away from the subject, or by adjusting your aperture (when using manual flash) to change the amount of light that reaches the subject from the flash (of course adjusting aperture will also effect ambient light). Adjusting your ISO will effect everything, making the sensor more or less sensitive to light, therefore affecting all light sources in your scene.
If you found this post useful, please click the 'LIKE' button, maybe subscribe to our blog or other social media via the links below and please feel free to leave us your comments.


