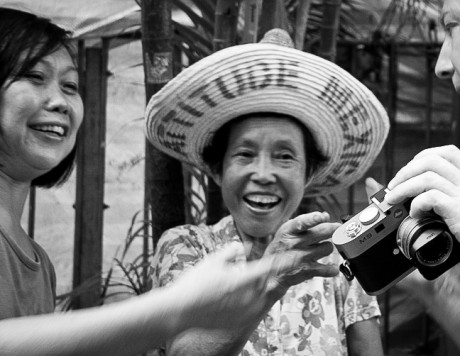
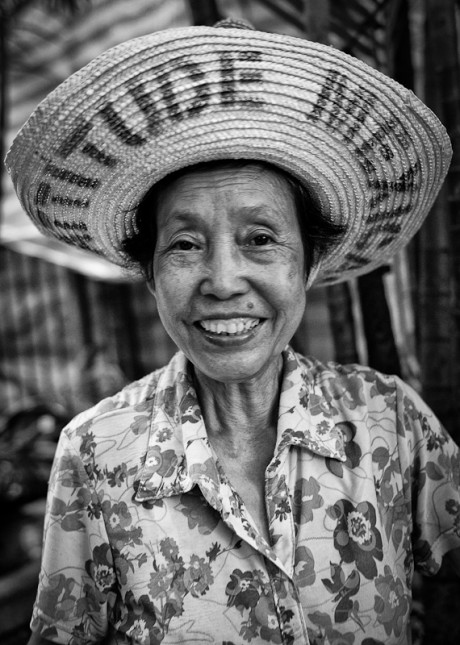
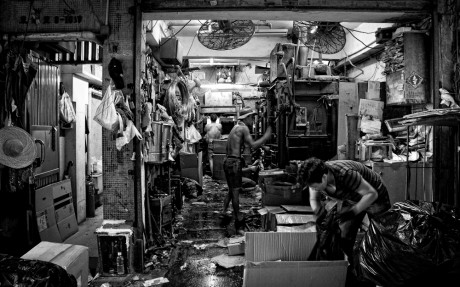
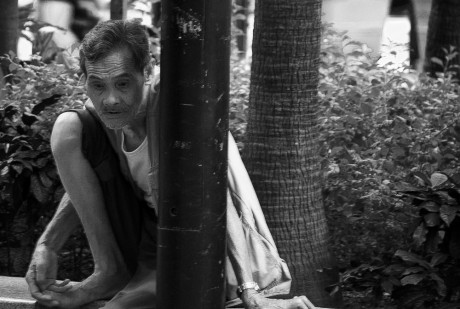
Street Photography Workshop with Eric Kim - 24th-26th Feb 2012

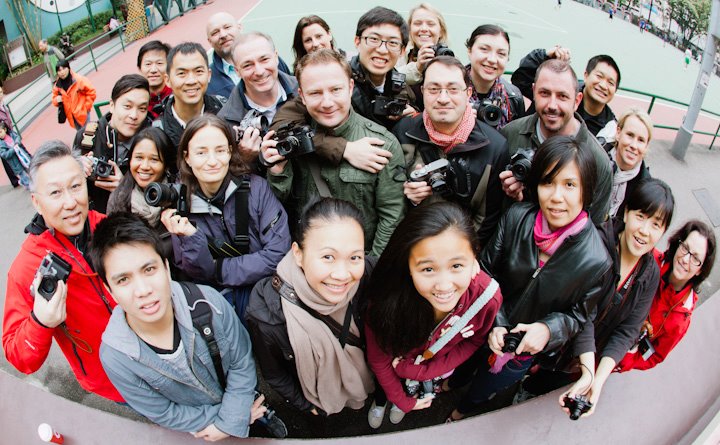
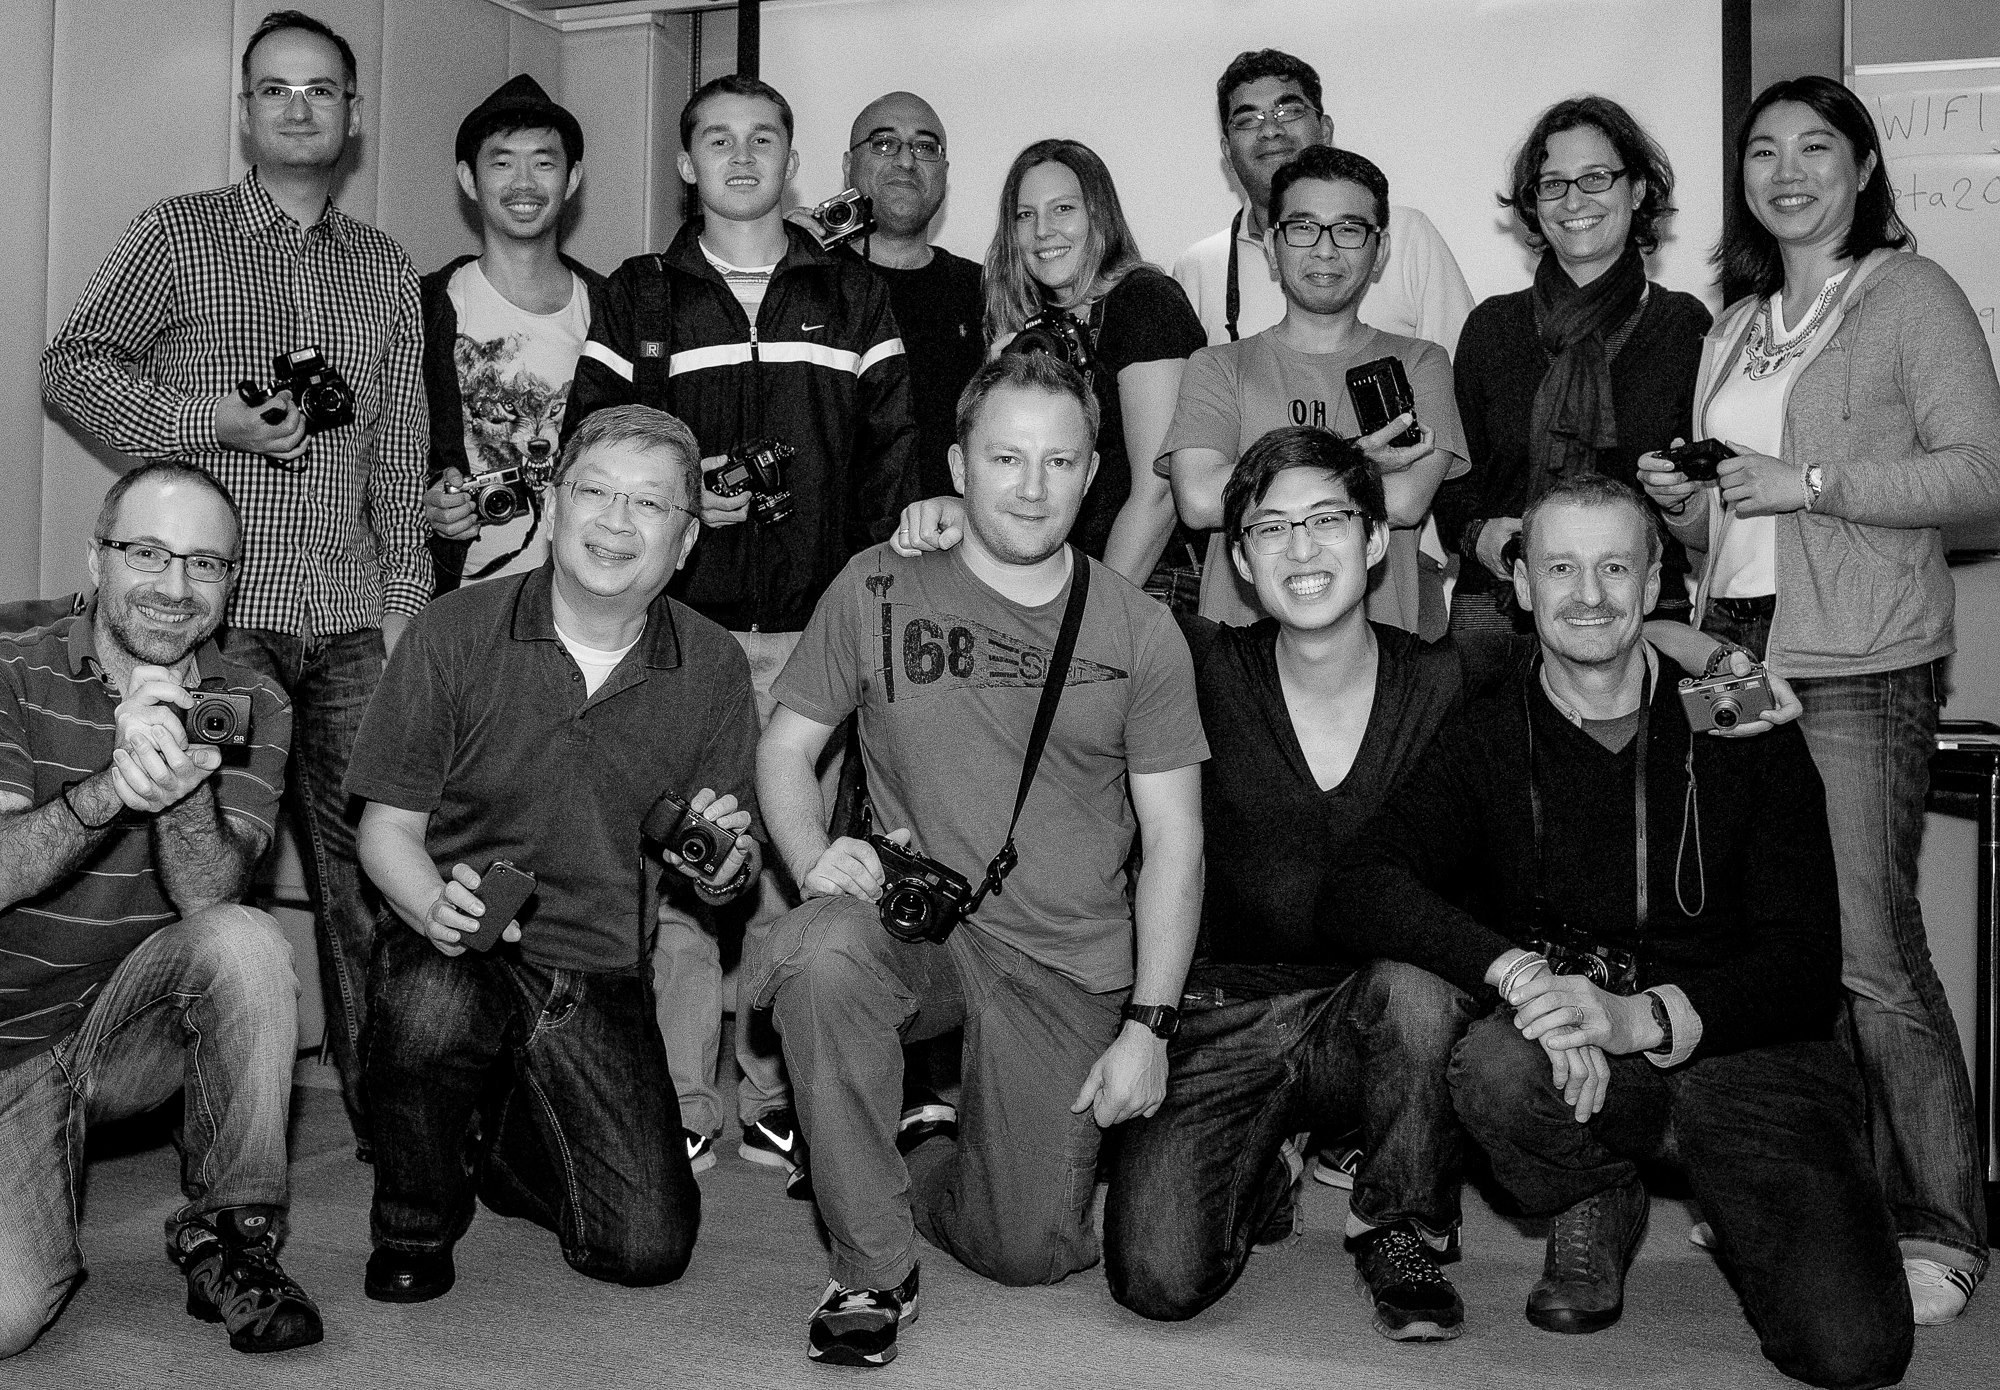
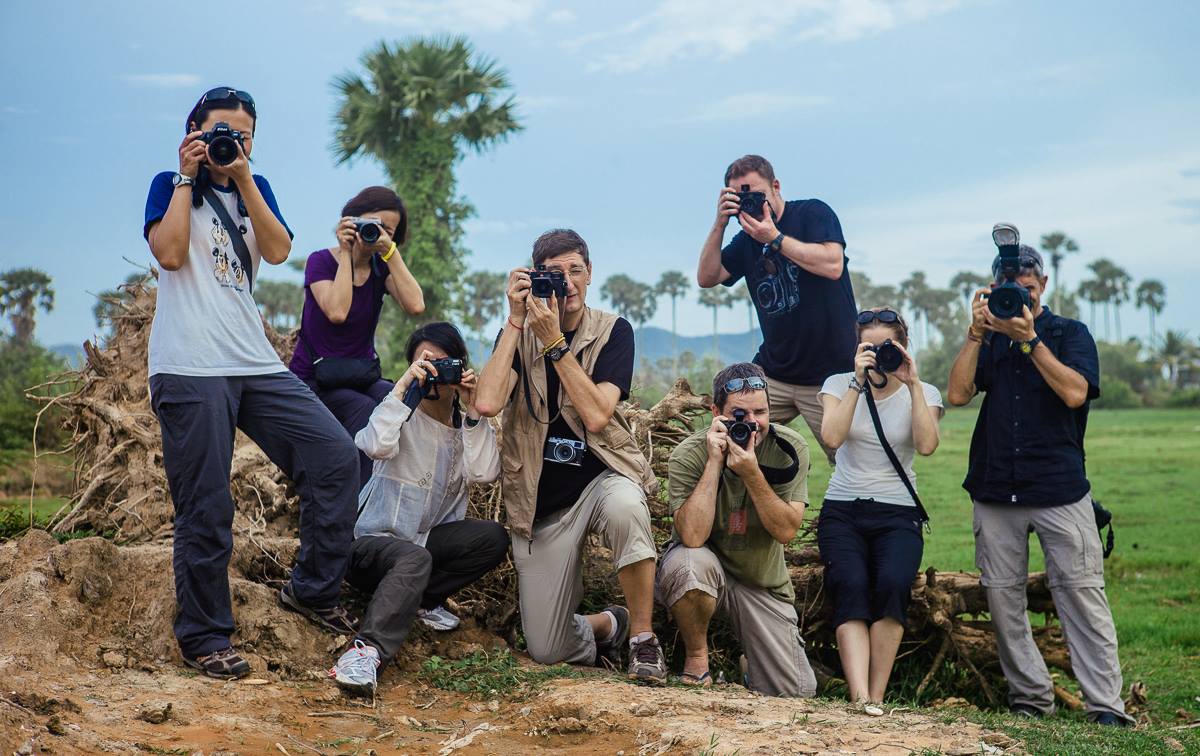
So its finally happening!  Eric Kim is flying in from LA to host with F8 Photography a 2 day Street Photography Workshop.

There are limited places, so sign up fast if you are interested, we expect this workshop to sell out quickly, as have all Eric's workshops in Asia and over the world.

The workshop will take place from the evening of Friday 24th until the evening of Sunday 26th February 2012.

All the even details and signup information for the event are here or at the following link and from the events shortcut on the front page of our site:

http://www.f8photography.com.hk/event/streetworkshoperickim/

F8 studio lighting workshop - review and feedback

A few weekends ago we held a studio lighting workshop for 2 of our previous clients; Craig and Bernhard, who last year completed the foundation course with F8. They have both been practicing hard and continuing to develop their passion for photography, adding a vast array of images to their portfolios of the last year or so, ranging from travel photography to family lifestyle portraits.

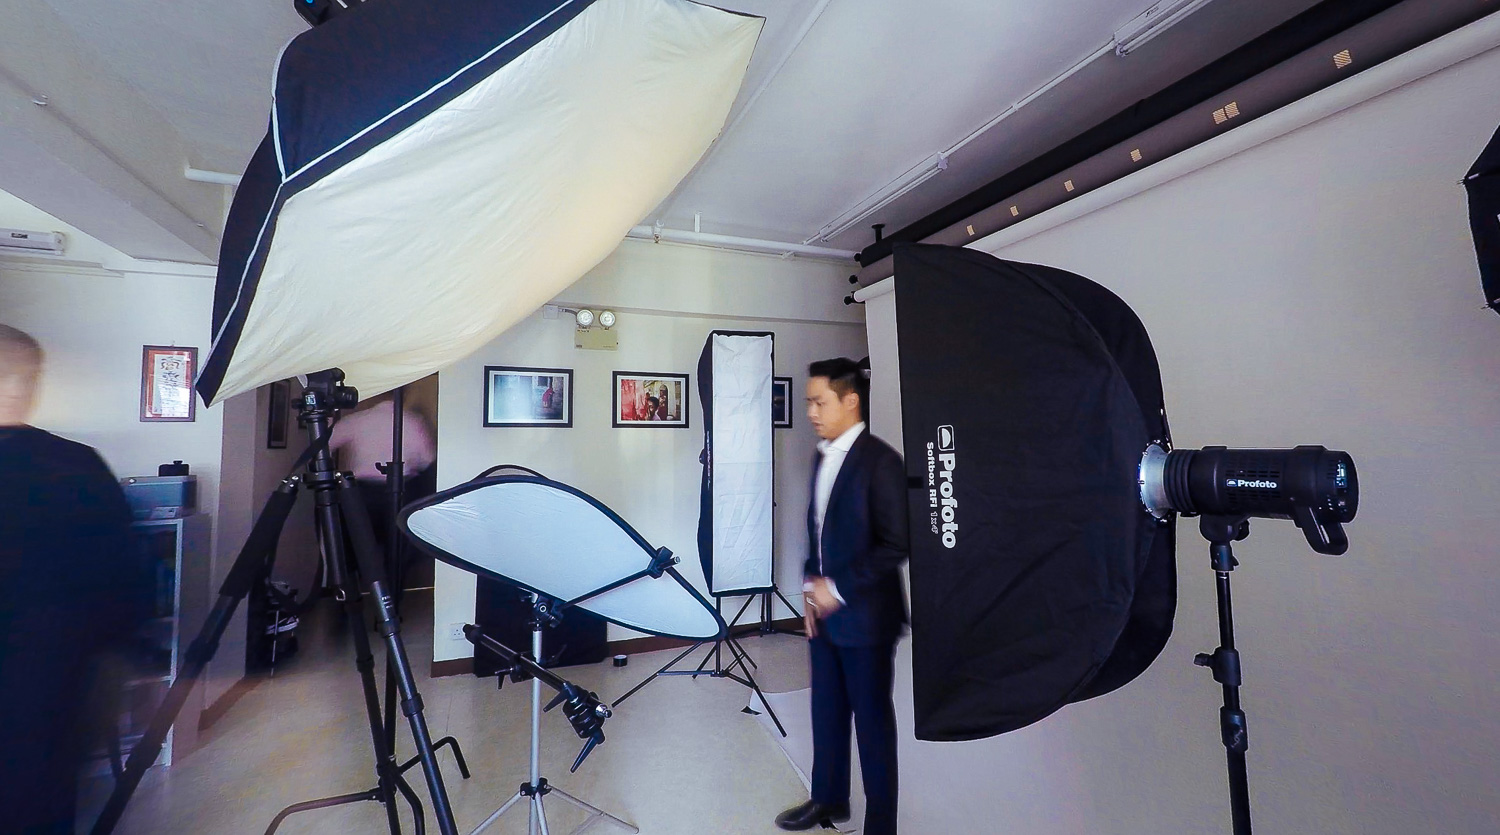
They had both arrived at a point in their photography where they felt it was the right time to broaden their horizons with artificial lighting, so we headed into the studio with 3 beautiful models early one Sunday morning and started playing with light meters, octaboxes and all the other great toys in the studio to see what we could achieve in a few hours of intensive training.

Bearing in mind that neither of the guys had ever set foot in a photography studio as the photographer before, we started with the basics; how to use light meters correctly, 1 light setup, using reflectors, flags and other light modifiers, then moving on to slightly more elaborate lighting setups, using gels, grids, snoots, barndoors, ringflashes and even wind machines amongst other tools.

After 5 hours of loud music, high energy photography and lots of laughter the whole crew was exhausted, even our models mentioned they didn't realise it can be quite tiring and hard work posing for a demanding photographer...haha.

Everyone involved said they had a positive experience and achieved a valuable piece of training to carry them forward with their photography, so I was happy, I had achieved my aim to teach them some new tricks and see everyone leaving the studio with big happy grins on their faces :-)

Using 3 cameras throughout the day, they had taken hundreds of images, I asked them afterwards to send me just a very small selection each, to show that they could also selectively choose and edit images as we would do so in a professional environment, being able to filter work down and produce only the top quality images, a task that is not as easy as it may sound.

I asked them both for a bit of feedback a week or so later and they said the following:

Craig Menzies:  "The studio shoot was a great experience and really focused on the full studio experience, from setting up the backdrops, all the various types of light modifiers, umbrellas and soft boxes, and where each light is placed to create dynamic lighting for the models we were photographing. It was fast paced and we learned a great deal from Gary’s instruction, while shooting amazing photos.  It was also a new experience to deal with models and directing them to create the shots we wanted.  Highly recommended and I will do more studio shoots in the future".

Bernhard Wamelink:  "The one day lighting workshop with Gary Tyson from F8 Photography was a great experience.  In a studio environment all the different aspects of studio lighting were discussed, set up and used in a shoot with models. Gary showed his professionalism in a relaxed way and he was very supportive and a good coach".

We provide a variety of training ranging from foundation training, street photography, DSLR video training and studio lighting.  Details can be found via the links on our home page here. or you can contact us directly from the contact page here.

Here are a selection of images from both Bernhard and Craig's first ever studio shoot:

Here are some additional links to their existing portfolios if you wish to see more of their photography:

Link to Bernhards 500px portfolio

Link to Craig's 500px portfolio

Photographer rights in public spaces

A good friend of mine sent me this link earlier, which I thought was important to share as we have all been in the situations shown in this video. A lot of photographer are completely unaware of their rights when shooting in public places, be it street photography, architectural photography or even just shooting there friends and then having trouble with security guards, locals, etc.

Of course you must remember that shooting in private spaces, i.e. shopping malls, etc the rules are different.

Video Link: Stand your ground


Spiders and Speedlights...using off camera flash

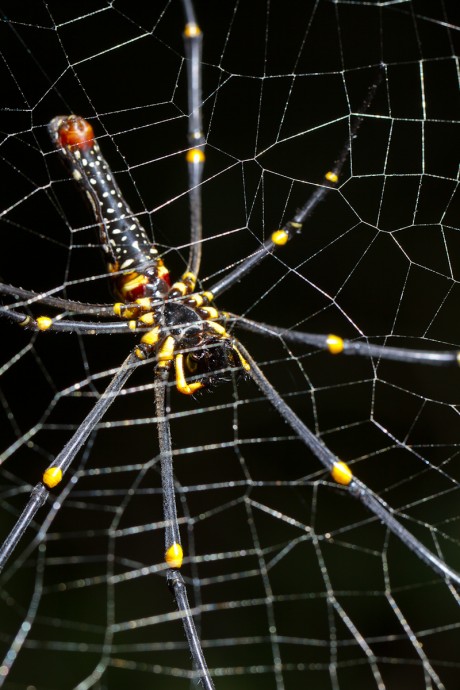
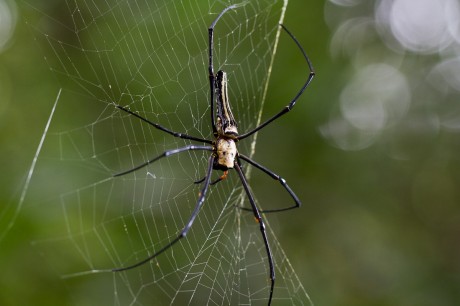
The last few days when I've been out jogging I found some BIG spiders hanging in the bushes on the mountain.... As scary as they are to me, I thought it would be kinda cool to take a few pics of them at some point.  I did a bit of research online to find out what kind of spiders they are, and it seems they are called Golden Orb Weaver Spiders, here's the (wikidpedia link if interested), they do have neurotoxin venom which is dangerous but not lethal to humans....here is an image showing the spider and how it gets it name from the golden orb you can see clearly at the base of its back.
Anyway, the purpose of this blog post is not a wildlife lesson, but more a quick insight into using speed-light flash (off camera) and how it can be used to enhance or help light a subject and how we balance the 'ambient' light.  One of our trainee assistant photographers called RJ is learning more about flash work and he also has a big interest in macro photography and wildlife so I thought he would be the perfect candidate to practice some flash techniques with these spiders and help him to learn flash balancing at the same time.  Everything to do with flash and balancing light applies exactly the same if you are photographing insects, humans, or anything else for that matter.

So, we set off on the trail, and as there had been a typhoon the day before, I was not optimistic about finding any spiders due to their webs having been broken up by the wind, but sure enough after 30 minutes we found loads of these monsters!  These critters look pretty hardcore to me and clearly aren't concerned with Typhoon 8 weather...

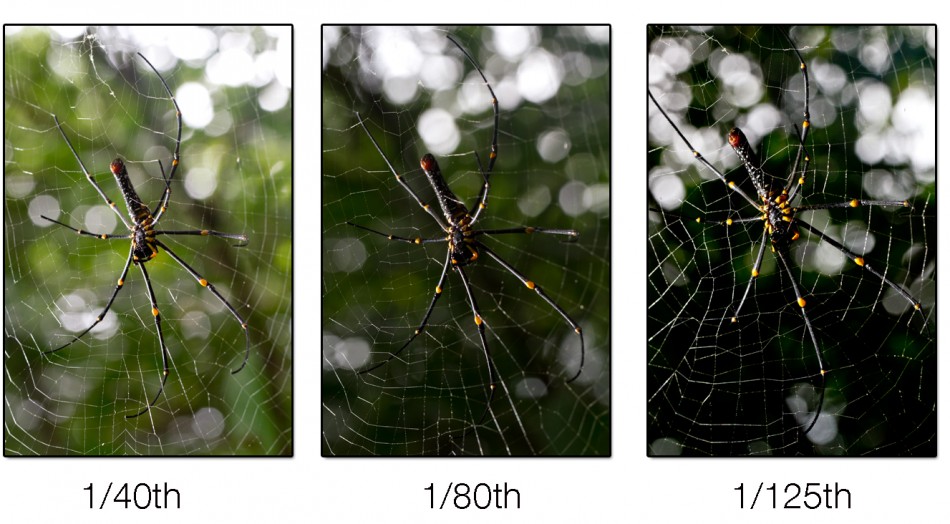
The idea of the trip out was to show that flash and ambient light can easily be controlled separately.  Once an exposure is attained, to get more light in the background (ambient light), all you need to do is adjust the shutter speed slower - to make the background darker you just do the opposite and adjust the shutter speed faster.

The first test shot RJ did on a caterpillar demonstrates a fast shutter speed (1/200th), which cancels out all of the ambient light (daylight/light source other than flash)...This caterpillar was in broad daylight but the effect achieved is show below. (bear in mind on most DSLR cameras you are still limited to maximum shutter speed of approx 1/200th of a second whilst using flash (will differ slightly for different camera models), otherwise the shutter will close before the flash has finished exposing and effectively chop your picture in half).  When using the flash on the camera, your camera will not let you shoot faster than its maximum 'sync speed' to help prevent this problem, unless you have high speed flash features enabled.

Once we found some of the big spiders, RJ tested out this theory again, firstly attaining a rough exposure with the flash and ambient light, and then adjusting only his shutter speed to effectively darken or lighten the background for different effects in each picture as shown below:
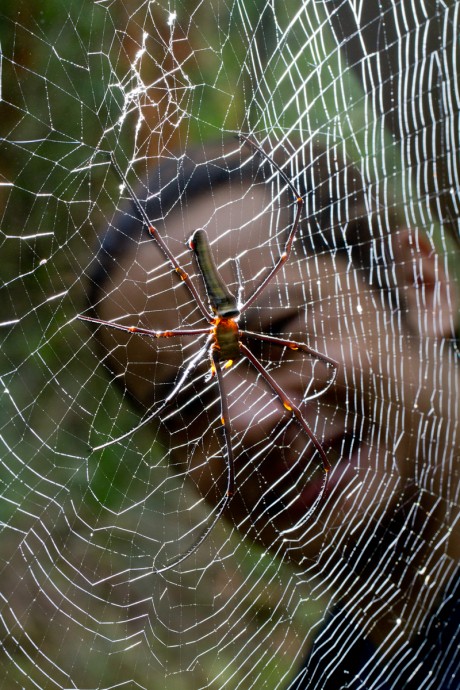
The other technique that I wanted to emphasize to RJ was using side lighting and back lighting with the flash....this can help give shape and texture to your subject and in this case really helped bring out the details in the web....if we were shooting portraits of people we could use this technique to emphasise shape, texture, hair details, etc, etc....its all the same idea, just applied to each subject how you like.
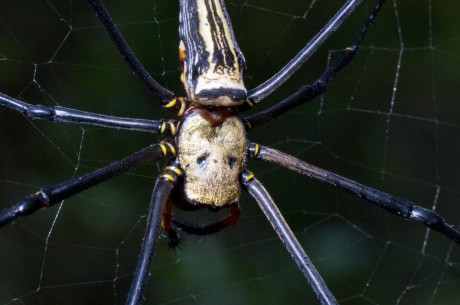
This next picture RJ shot shows a real close up of the back of the spiders head....we both agreed the damn thing looked like it was wearing the famous hockey mask that Jason wears in the 'Friday the 13th' horror movies...as if it wasn't already scaring us enough!....

Something we did in this picture as the flash was very close to the spider was to put some white tissue paper in front of the flash head which helps to soften the light like a 'mini-cloud' giving a diffused light effect...there are many props you can buy to achieve this effect, but especially for macro, sometimes a simple piece of tissue can do the same job!
 

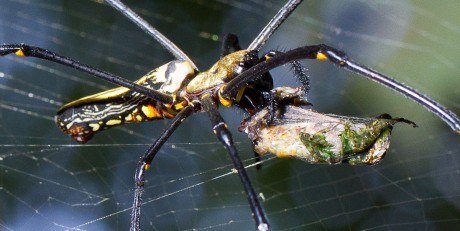
This last shot won't be too everybody's taste...but RJ found it interesting...to see this poor grasshopper looking insect had come to a very sticky end.....gives me goosebumps to see this close up....but again, the flash has really helped bring out the detail in the shot.
I hope this short post can be useful to anyone learning flash, it shows u can practice flash techniques on anything, doesn't need to be portraits, you can shoot anything at home or outdoors and learn these important techniques to balance flash with the ambient light.

Just remember, shutter speed will control your ambient light, and flash power can be controlled by the flash unit, bringing the flash closer or further away from the subject, or by adjusting your aperture (when using manual flash) to change the amount of light that reaches the subject from the flash (of course adjusting aperture will also effect ambient light).  Adjusting your ISO will effect everything, making the sensor more or less sensitive to light, therefore affecting all light sources in your scene.

If you found this post useful, please click the 'LIKE' button, maybe subscribe to our blog or other social media via the links below and please feel free to leave us your comments.

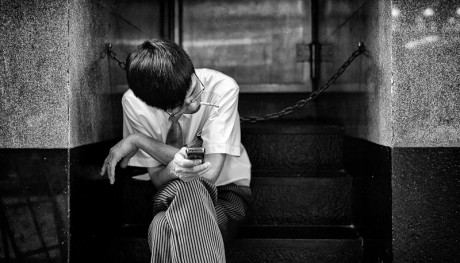
How we shoot Street Photography in Hong Kong (VIDEO)

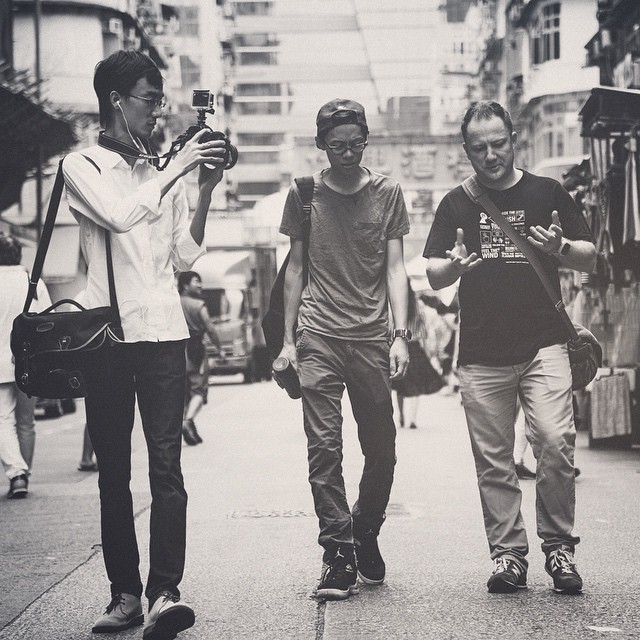
A lot of people have been asking us how we get close up pictures of people out on the streets in Hong Kong, so we decided to make a short video to show exactly how we go about getting these images. We attached our little GOPRO video camera to the top of the Leica M9, plugged in a wireless microphone to a small Zoom H1 to record the voice and then went for a walk for 2 hours round Mongkok, Yau Ma Tei and Jordan in Kowloon to see what we could shoot.

This video is a short insight into how we generally shoot our street photography, we really try not to offend anybody out on the street, some people are camera shy, that's normal, you have to just move on and not take it personally, theres millions more interesting subjects just waiting for you to photograph them...

We emphasise throughout the video the camera settings and techniques we are using, so this video hopefully can be of use to anyone that is unsure of what settings to use for fast paced street photography.

We are very interested to hear everybody's comments or critisicms as we are always striving to improve, so feel free to comment below on anything you have seen in the video or you think we should be doing differently.

Please feel free share this link on your blog, on your facebook and recommend it to friends, we are trying to get as much exposure as possible with these techniques to help anyone who wants to learn from it.

F8 Photography runs all kinds of photography training as well as upcoming street photography workshops, so if you are in Hong Kong and interested in this style of photography, contact us to register, we will soon be launching an events page with all the details of all our 'street' workshops.

If you like this post, please 'LIKE' us at the bottom of the page and Facebook via our links below.

[slideshowpro type="video" url="http://f8photography.com.hk/slideshowpro/albums/album-12/lg/streetphotography1.m4v" preview="http://f8photography.com.hk/slideshowpro/albums/album-12/lg/streetphotography1.jpg" width="600" controls="true" autostart="false" ]


Matt & Katie - Down under at Shek O

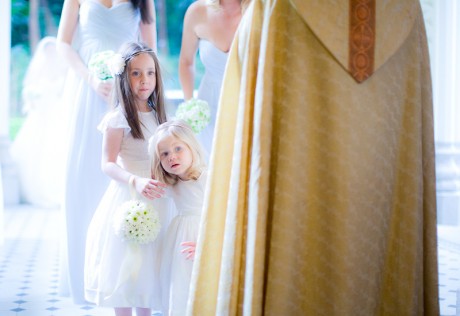
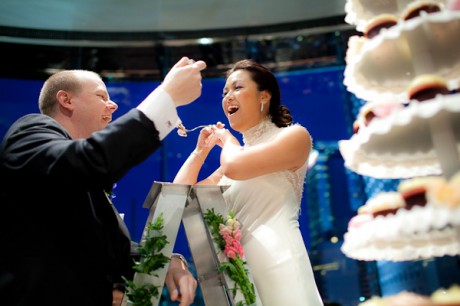
Friday the 23rd of September, a nice sunny Friday afternoon in Hong Kong...but for Matt & Katie it was perhaps the most important day of their lives so far.   A big wedding was the order of the day, with friends and family coming from Australia and the rest of the world to celebrate this amazing occasion. And amazing it certainly was, a really great, beautiful bunch of people who helped us get some really nice images throughout the day and very late into the night!

The wedding planner Sonya and her team from Bliss Creations did an outstanding job setting up and organising the various venues, and the setup at Shek O Golf Club was easily one of the best wedding setups I have ever seen anywhere.

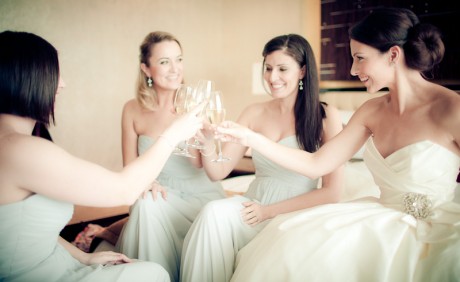
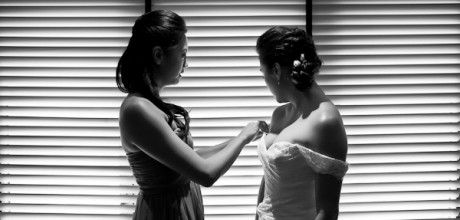
It all started at the Four Seasons Hotel in Central to capture some images of Katie's preparations in her suite.  We were graced with good weather most of the day, so that gave us the opportunity to shoot natural light and the family were so relaxed it made it easy to shoot our reportage style of wedding photography.

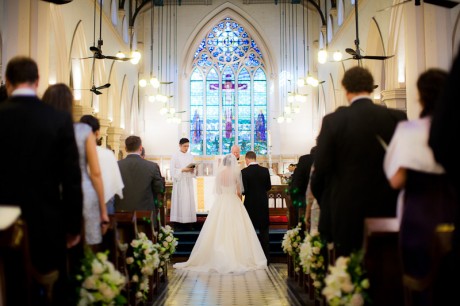
After spending a few minutes with the bridal party it was time to dash across town to the oldest church in Hong Kong - St John's Cathedral in time to introduce ourselves to the reverend as a matter of courtesy as we would photographing inside the church and then to get some images of the bride arriving and get into position for the ceremony.  Trying to get across town on a Friday afternoon at short notice can be quite stressful in itself....but luck was on our side and we made it in good time well ahead of the bride.

This church is a great venue in Hong Kong, we've photographed several weddings here and has to be the best church from a photography perspective with lots of natural light flowing in through the large windows and open doors, all helping us to get natural looking images with great light....and of course flash photography is not allowed inside the church anyway, nor would we ever choose to use flash for daytime photography for weddings, we prefer to use natural light and fast prime lenses (we also use these fast lenses for most of the evening photography also, using natural light wherever possible).

After the ceremony it was time for another move, this time to Shek O Golf Club right round the other side of the island....again, we had luck on our side and managed to find a taxi quickly so we could arrive ahead of the rest of the party to prepare everything in advance.  We had to setup a wireless transmission rig with projectors, laptops and a network so that we could transmit our images from earlier in the day direct to the walls in the venue and then spend the rest of the day and evening shooting 'live' direct to the wireless slide show which appeared full wall size within the venue.  We do this at most of our events now and it always has a lot of positive impact and is a great way for us to showcase our work at an event (Of course it puts more pressure on us to get strong images also to show live, but that's the way we like to work).

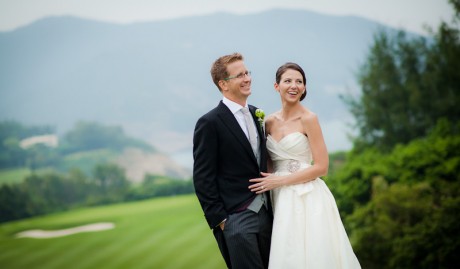
Then it was time to grab a few group shots and images of the bride and groom outside on the lawn of the golf club, with magnificent views behind of mountains, the South China Sea and waves crashing against cliffs, really a great setting and we couldn't have asked for better weather, it was now slightly overcast, with great soft natural light through the clouds.

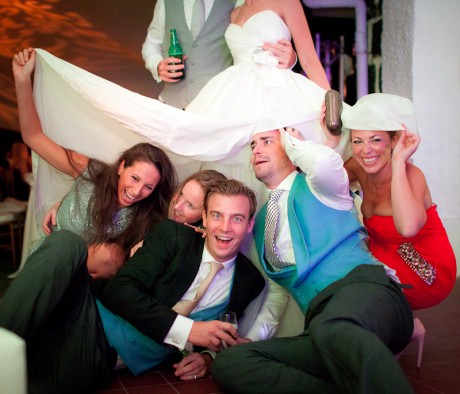
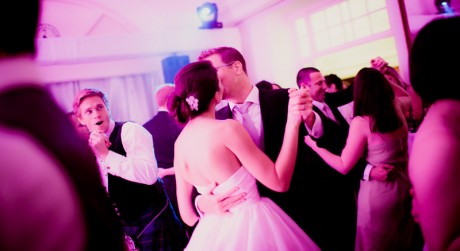
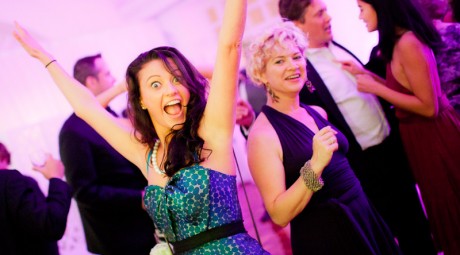
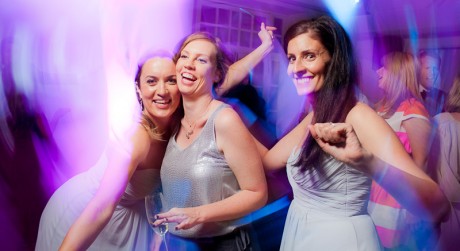
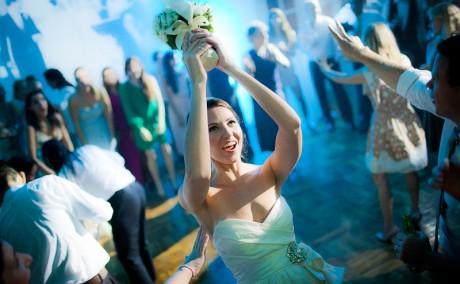
Thereafter it was time for the dinner, the speeches and then the party started to get crazy (the groom had warned me earlier that these people like to party hard...)  I was looking forward to the evenings photography as I knew this was going to give us a different and dynamic contrast of images to the earlier part of the day, when people party hard and let their hair down, it always works well for the photographer (as long as no alcohol lands on the laptop or camera gear :-), which thankfully somehow it didn't...lol).  We had already captured some nice traditional reportage style images, a lot of black and white work, and now we were going to be able to use some off camera flash and slow shutter speeds to get some dynamic colourful dancing shots.....

The party went on late, with lots of dancing (there was even a break-dancing act going on with back flips and head spins at one point!) and a great night was had by all.  At midnight buses arrived and took everybody off to Central for the after-party...I'm sure there were some sore heads the next day....For us it was time to leave, and spend the next few days buried in Lightroom 3 with masses of images to sort out, select and develop.

All that remains to be said from us is Thanks to Sonya the wedding planner and congratulations to Matt & Katie on their special day, it was a pleasure to be your photographer and we hope the images can help memorise this amazing occasion for you, your family and friends.


Cambodia behind the scenes (VIDEO)

This is just a short look behind the scenes on some of our shots from last trip to Cambodia. I apologise in advance for the quality of the editing, we didn't film anywhere near enough clips, as video coverage was not part of the plan for this trip, so these are just thrown together clips from iphones and DSLRs along with a few of the images so people can see the natural light when a shot was taken using lights to show the effects, etc.  Next time we go we will be shooting street photography with a view to filming much more with a dedicated cameraman.

If you like our work, please 'like' us a the bottom of this post, add us on facebook, twitter or google+.

[slideshowpro type="video" url="http://f8photography.com.hk/slideshowpro/albums/album-12/lg/Cambodiaroughcut-desktop.m4v" preview="http://f8photography.com.hk/slideshowpro/albums/album-12/lg/Cambodiaroughcut-poster.jpg" width="600" controls="true" autostart="false" ]

Student Showcase - Lisa (composition)

Lisa is about halfway through the course now, and has recently been on a month long trip back to Europe so had plenty of time to concentrate on some of her homework, this time being 'composition'. The brief was to take a few images that demonstrate some basic elements of composition after having had the composition lesson and some reading materials to digest; some of the subjects for the homework  included showing images that deomonstrate the following;

Leading lines, frame within a frame, shape, colour, contrast, portraits of a stranger, unusual viewpoints etc.

After having reviewed the images, I have to say that I am yet again VERY IMPRESSED by the standard of images that are being produced after a few lessons and pointers in the right direction.

Lisa hails from Denmark and has a background in design and styling so she already has a very creative eye for sure, that was clear to me when we first met, and now that she has fine tuned her technical abilities with the camera she is able to communicate and realise what she sees in her minds eye easily and to good effect with the camera.

Here are a few of Lisa's images, bearing in mind she has only been using a Digital SLR camera for a few weeks, already showing that she is taking to photography with ease, a real natural talent, great to see!

For more information on our photography courses, which include photography, DSLR video shooting, studio lighting courses and workshops abroad in places such as Cambodia, please see the links on the front page of our website here.  There are other blog posts on previous clients photography training on our blog here.

Please 'Like' our posts on the Facebook link at the bottom of this page, follow us on twitter or leave a comment below.  Thanks for taking the time to connect with us.

.

Lighthouse Orphanage, Cambodia (VIDEO)

We have recently visited an orphanage in Phnom Penh and are now trying to help them by selling prints through our online gallery here to raise money for them. This short video just outlines and shows where the kids come from and a little bit of footage from the orphanage itself, we hope you can take the time to view it and get involved.

The prints from Cambodia that we sell will raise money for these kids, please take a few minutes to watch the video and if you can help, take a look at the prints here.

[slideshowpro type="video" url="http://f8photography.com.hk/slideshowpro/albums/album-12/lg/Lighthouse_orphanage-desktop.m4v" preview="http://f8photography.com.hk/slideshowpro/albums/album-12/lg/Lighthouse_orphanage-poster.jpg" width="600" controls="true" autostart="false" ]

F8 online print sales - with charity gallery

We have been working together with our awesome web designer Andi over at brandedpixels to develop a print sales gallery on our website and are proud to annouce it is now live here. We are doing some charity work in Cambodia and many of the prints we are selling to aid an orphanage in Phnom Penh, please take a look at the video and if it pulls at your heart strings, consider buying a print to help these kids or at least if you go to Cambodia on holiday, consider going to visit them and give them some of your time.

We hope you like the new addition to our website, here's the link again for the shop and the video below:

F8PHOTOGRAPHY ONLINE PRINT SALES

Video showing the orphanage we are trying to support during our photography expeditions in Cambodia.

[slideshowpro type="video" url="http://f8photography.com.hk/slideshowpro/albums/album-12/lg/Lighthouse_orphanage-desktop.m4v" preview="http://f8photography.com.hk/slideshowpro/albums/album-12/lg/Lighthouse_orphanage-poster.jpg" width="600" controls="true" autostart="false" ]

Streetwise: - learning to shoot street.

Angela has been doing some photography training with me and today was all about street photography, getting out and shooting people in their natural environment.
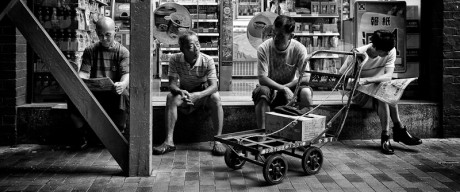
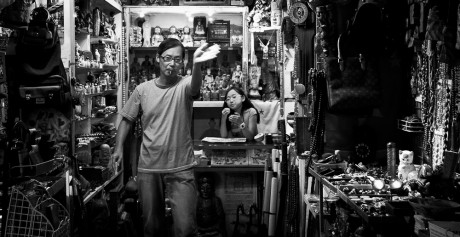
I could see by her face when we met that she was nervous about having to approach strangers...and rightly so, some of the locals in Hong Kong can be quite aggressive when a camera is pointed at them. Several times today we encountered this 'resistance'....but my advice is always 'take it in your stride, NEVER take it personally, and just smile and move on to the next subject....its their loss if they are too grumpy to have a great picture taken....leave them be, there's no pleasing some people...lol.

Anyway, back to the nerves...thats a good thing, its healthy to have some nervousness when you are going to approach total strangers, I think this adds to the excitement of street photography, and gives a great feeling when u do meet the nice people and take some good pictures.

So we set off in Sheung Wan around the western market area, slowly wandering around the back streets looking for subjects. One thing Angela noticed was that we were going very slowly.....I always do this, you will not see things if you walk too fast, you have to allow yourself to soak up your surroundings, if you find somewhere with good light or a good backdrop, stop there, have a break - wait til a good subject comes to you. It doesn't always work out that way, but it definately won't happen if your rushing down the road not paying attention.

We found a good little back street with some manual workers crushing cardboard in a small recycling shop, so we hung out there for 10 minutes and they didn't seem to mind us at all, there were some old ladies bringing cardboard on trolleys to be crushed (thats how these women earn a living here) so we continued shooting and got a few nice portraits. We showed them on the back of the camera which they LOVED. If u get a good picture of someone, show them...and if possible, bring them a print next time, they will be your friend for life.

After a successful 15 minutes at this location, Angela was feeling more motivated after having success early on in our tour, which was great!

Nothing is better than capturing some nice shots at the beginning of a shoot, gives you confidence and sets you up for the rest of the day.

Thereafter we got a mix of portraits and environmental shots around these back streets, some people we asked, some we didn't, its really like playing poker to me - you gotta get a read on your subjects as you approach...are they going to get defensive, be engaging, do you shoot candid or do you ask...each one is different.
That is why its FUN, which is the most important factor - why are we doing this in the first place - because its FUN and we LOVE taking pictures.

We finishing up with a nice drink in an air conditioned coffee shop (its still so damn humid here). Angela told me she had thoroughly enjoyed the experience of shooting people on the streets, considering she normally prefers landscape photography, so this was a welcome change, and a new string to her bow of techniques to blend into her photography.

All I can say is there is no substitute for getting out and USING your CAMERA.

SHOOT EVERY DAY if that's possible for you.

Familiarise yourself intimately with your equipment and then you can concentrate on the important things, engaging your subject and getting the shot you want.
Today we used Leica cameras and Canon DSLR cameras (links to the right if you interested to buy any of this equipment) - whichever kit you use, just make sure you know how to handle it, then you won't miss that shot next time it appears in front of you.

See you out on the streets sometime, Enjoy!

Note: If you like this blog post, please use the 'Like' button at the bottom of this post to let us know. Thanks!


A Mandarin Oriental Wedding

It was 8.30am on Sunday the 21st August....most of Hong Kong was still snoozing, but for David & Angie, it was their big day, so no time to rest....

We went through our last equipment checks to make sure we had everything we needed for the day ahead. We had additional equipment with us including the macbook pros, so we could edit during the day, as an extra task awaited to prepare the images from the morning's events for ipad slideshows at the evening reception....sounds easy enough....but with 1500 images to go through; select, edit, retouch, export and upload in 2 hours....you need to make sure you have everything well practiced and organised in an almost military fashion....there's no second chances on a wedding day for the photographer....

The venue for the wedding itself - The Mandarin Suite at the Mandarin Oriental Hotel in Central, probably the most amazing small venue we've had the pleasure to work at - when we say small - its not really 'that' small - its an amazing presidential suite with 6 or 7 rooms including spas, dining rooms, etc which has the most prestigious previous guestlist including Princess Diana, Tom Cruise and Bill Clinton, amongst countless others... so a very historical and cool location for us to shoot - perfect for a wedding reception we thought!

Then came the manic few hours of editing and post production. Fortunately our small team is well versed in Adobe Lightroom, so we were able to edit efficiently and quickly to get everything prepared and uploaded to the iPads in good time to arrive at the reception location in Exchange Square at 'The Rotunda'.

Another great location for the evenings entertainment we thought, the first time we had shot here, our only concern was if there was going to be enough natural light for the large group shot at around 6.30pm, luckily the 5D Mark IIs high ISO performance saved the day for us and let us shoot freely even in dimming light.
It was an amazing wedding, we thank David & Angie for inviting us to be their photographers, we hope they love the photographs that show how much of a fun filled day it was, we always try to capture the emotion and laughter of the couple and the guests. It was nice for us to be able to see the reactions of the couple and all the guests as they browsed the photos on the ipads in the evening, and we received much positive feedback, which is always nice.
We look forward to our next shoot, be it a wedding, a commercial shoot or street photography deep in the heart of Cambodia, thats the joy of photography, every day brings a new challenge, we love every minute of it.

Heres are a few images from the wedding, congratulations again to David & Angie.

Some of our Leica M9 shots posted as 'daily inspiration' on world famous Leica blog.

Sent a few images from some street photography I did last week to Steve Huff, who is a world renowned authority on Leica reviews and one of the most popular bloggers in the Leica world. It was a very nice surprise to see him use a few of our images as one of the sites 'daily inspiration' blog posts'.

For all these images I used the LEICA M9 and the Leica 35mm F2 ASPH

Heres the link to the post: http://ow.ly/64zKb

If you are interested in any of the equipment we use to take these pictures, you can buy them direct from B&H via the links to the right, great prices, unmatched service.

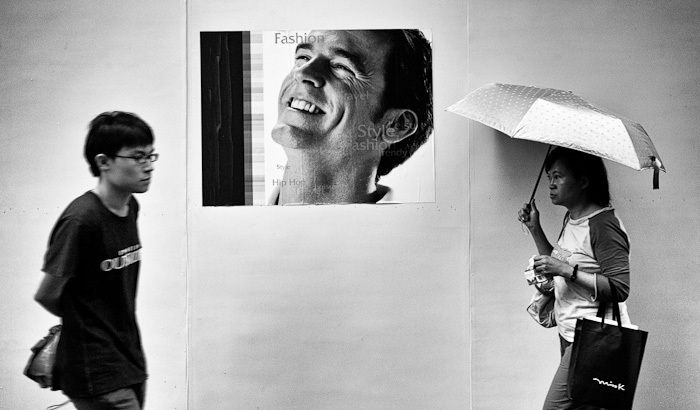
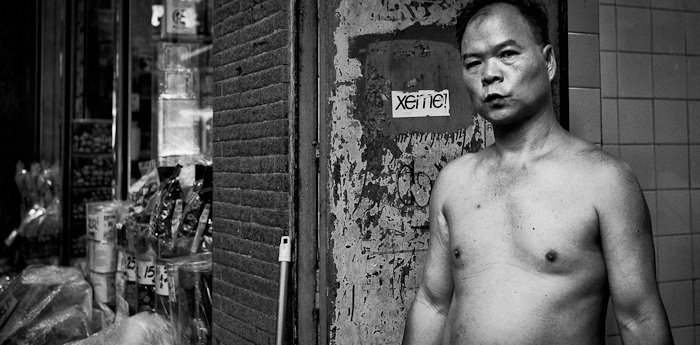
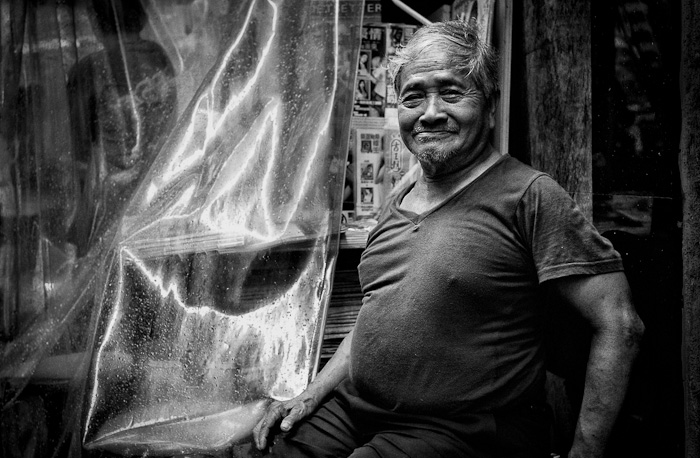
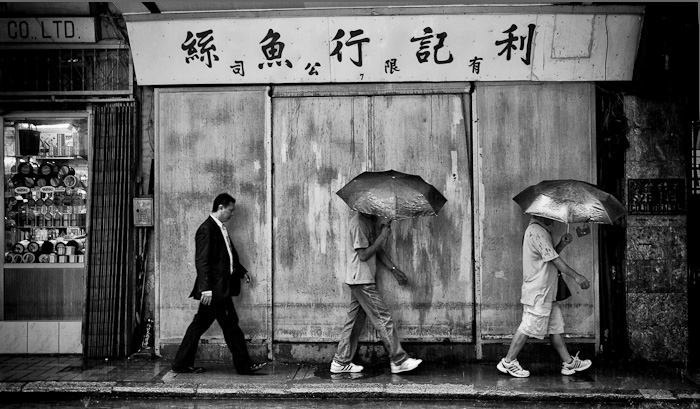
Street Photography in rainy Hong Kong

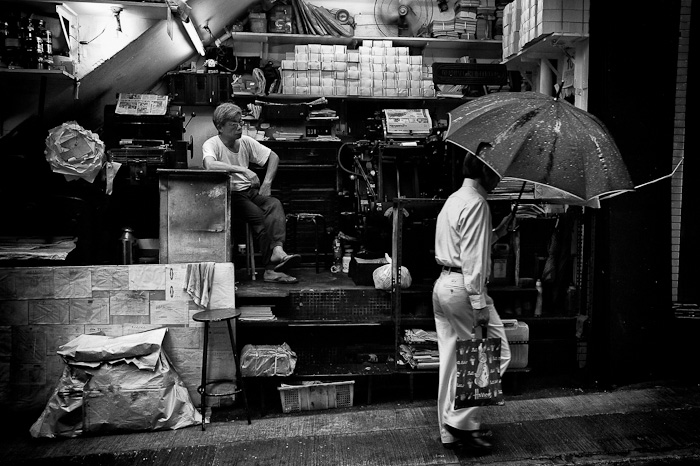
A wet and rainy day in Hong Kong....what to do?.....street photography of course! So off I went to Sheung Wan with the M9 and one lens only - 35mm was the order of the day...

This lens is the magic focal length for me, not too long, not too short, with this style of photography we want to show our subject in their environment, so on full frame, 35mm is an ideal length for me to work at.

There is no weather sealing on this camera unlike our Canon DSLRs, so it was time to jam an umbrella between my arms and try to keep the camera dry whilst shooting in harsh rain for a few hours.

I got drenched...as did the poor M9.  I quickly discovered that the M9 really doesn't like rain.....it started doing a few quirky things, that luckily were temporary, as soon as it was dry it was back in business.

This part of Hong Kong is great for street photography, I found the people to be far friendlier than in other parts of town, as many will know, Hong Kong can be difficult for street photographers, a lot of people are quite adverse to being photographed.

Anyway, the M9 managed to hold up throughout the intense rain all day and I was happy to get a few more gritty images given the nice light this weather provided.

A lot of people I meet never go out shooting in the rain, they think the camera won't survive, or there will be nothing to photograph....all i can say is remember what we keep saying about harsh light and soft light...next time those dark clouds come over...just look at the light and see how much more dramatic it can be....get your raincoat or brolly to protect your camera (don't worry about yourself, you ARE fully waterproof) - and get out there and shoot....you won't be dissapointed, and that coffee at the end of the shoot will taste much nicer when your wet through....:-)

Here is a small selection of the images, all shot with LEICA M9 and LEICA 35mm F2 ASPH:

Why do we shoot in RAW?

One of the most common questions for beginners is 'why should i shoot in RAW?'. The only disadvantages to shooting RAW are file size (storage is cheap these days) and the fact that you need more specialist editing software to work with the RAW files, i.e. Adobe Lightroom, Apple Aperture, Adobe Photoshop, etc (most people shooting with a DSLR most likely will already be using software that can read RAW files) so I don't see either of these issues as a problem, the advantages of shooting RAW far outweigh these.


Here are a couple of links to articles that go into more detail about RAW files and some of the reasons to shoot in that format:


Example showing benefit of RAWs higher dynamic range

Why you should shoot in RAW

Adding dramatic colours using only Adobe Camera RAW


On our training courses we go into detail about RAW shooting and focus on the software that helps you get the most out of your RAW files, details of our workshops and training can be found here:

Nurturing Passion – Creating Capability

Arguably, in life, there are things that we either have or we don’t have… One of the key things that we look for in clients, when working with them to develop their skills in photography is a passion, a passion for the art and a passion for the subject. Easily developable are the skills associated with the subject, with practice and guidance we can equip clients to become more proficient and effective in using the tools – camera, lenses, flash and post-production software, etc.

What is harder for us to develop is this core ingredient, passion – you either have it or you don’t… However, what we can do, when a client discovers their passion; is nurture it.

Our last trip to Cambodia is an example of how we did this: we invited a client, Ranjit Gurung who is starting out in photography to join us; he has this passion.

Our challenge was to take this raw passion and nurture it in a way that Ranjit could dramatically improve the outputs from his equipment:

  • Canon 550D
  • 100mm f2.8 macro
  • 50mm f1.4
  • 17 – 55 f2.8
  • Off Camera Flash

Of course we know that you cannot turn someone into a professional photographer overnight, but we do believe that given the right opportunity, training, encouragement and feedback, you can fast track people in the right direction.

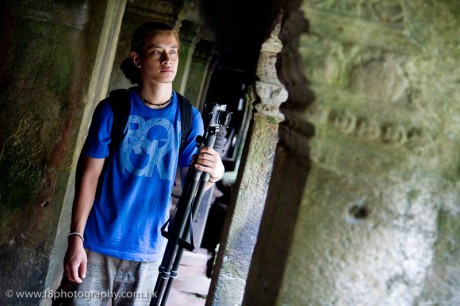
Ranjit in action
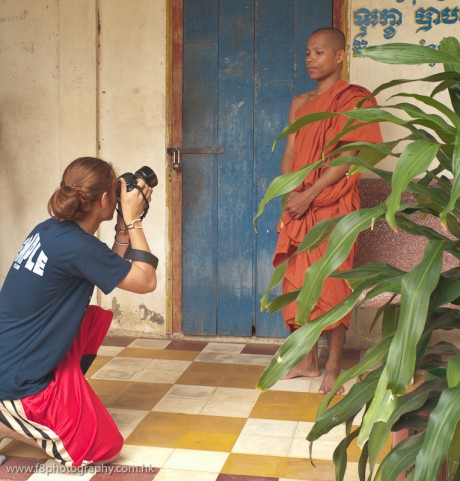
Ranjit looking at how the light falls inside the temples around Angkor Wat, Siem Reap.

Our approach is to enable our clients to become more comfortable in the use of their equipment – typically, technical skills development under different conditions, using low light to advantage and off camera flash to enhance drama in the photograph. Once this is in place an increased confidence becomes apparent.

We have found, over time, that one of the key capabilities to nurture in our clients is their ability to approach and interact with their subjects – especially during street photography and portraiture. Again, this comes with practice and support – we role model and encourage our clients and after a few initial approaches our clients are simply raring to go.

Through on-going feedback and guidance we equip our clients to take a more considered and compositional approach to photography. Moving the client from holiday snapshots to striking images.

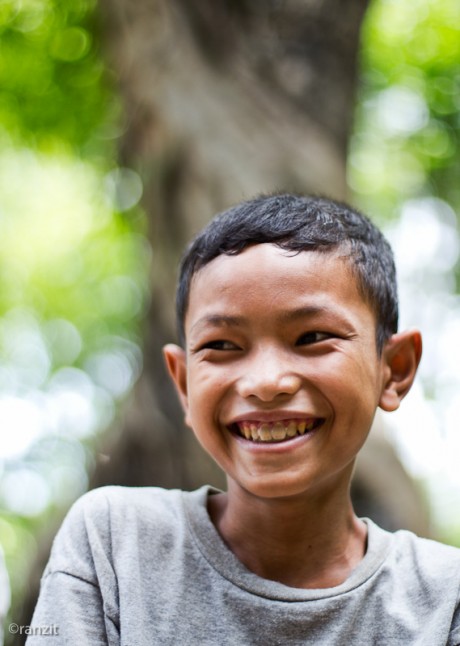
Below are a few of the pictures Ranjit captured:

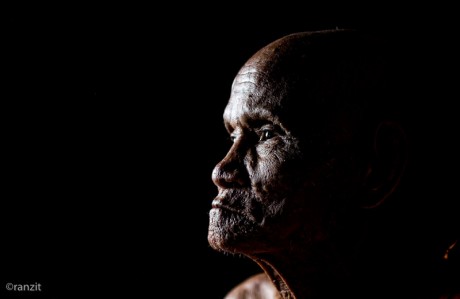
Using off camera lighting to achieve dramatic portraiture.
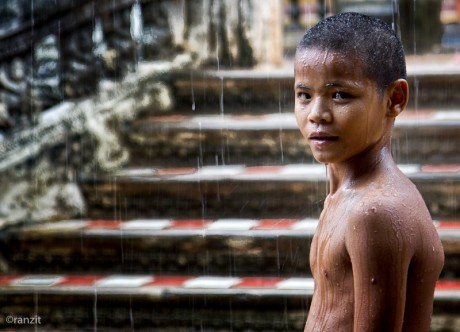
A young boy plays in the rain.
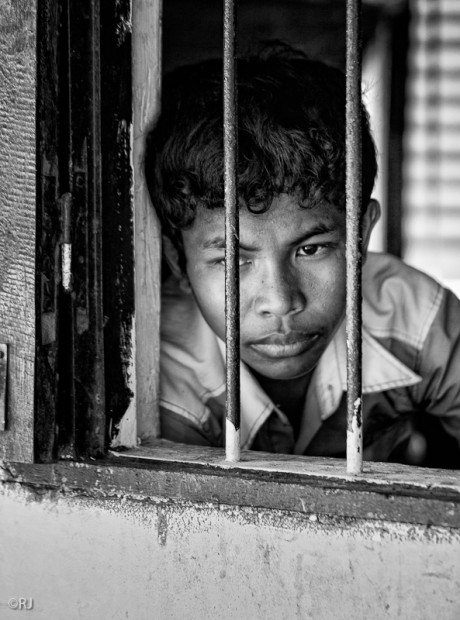
Looking out from the dormitory at the Lighthouse orphanage, Phnom Penh.
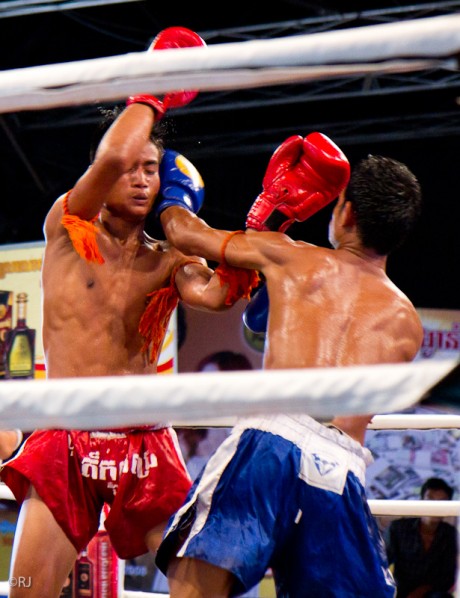
Capturing the action at Khmer Boxing, a national sport in Cambodia.
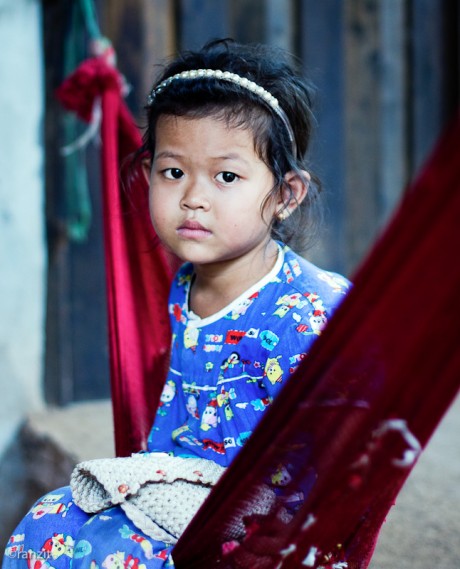
Girl at her home near Phnom Penh.
Laughter at the temples of Siem Reap.

Ranjit said:

"Shooting with Gary & Chris from F8 Photography has been one of the most amazing experiences for me, I feel I have learnt lots about the skills of photography, how to approach and interact confidently with subjects, and most important how to realise my passion. It was hard work, but worth it, I really look forward to my next photography adventure with them!"

For more information about our photography training, click here to check out the different courses we run on our website under 'courses & workshops'

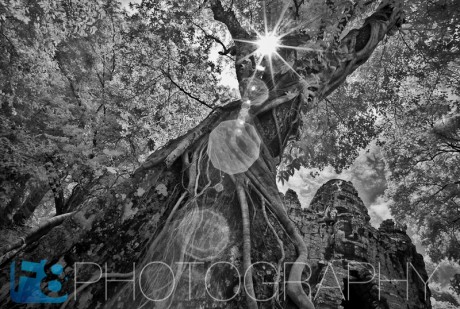
Infrared Siem Reap - Cambodia

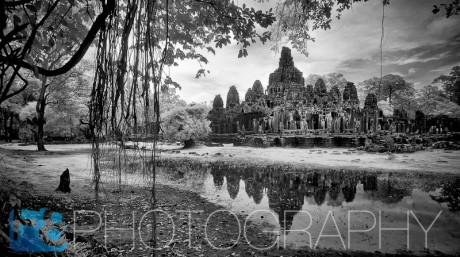
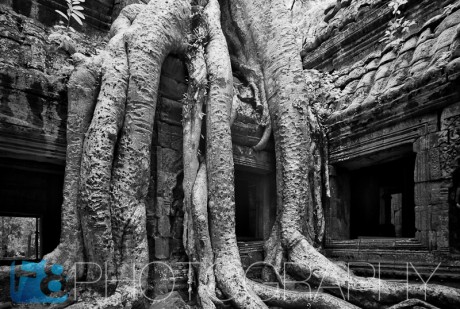
So another trip to Cambodia is well underway, including a short visit back to Siem Reap and the famous temples. I have been using the Leica M8 for some personal work over the last few months and not really had a chance to test it to its full potential yet, so thought I would bring it along to Cambodia and try it out with some infrared shots, as this is one of the few digital cameras that can shoot direct infrared without needing to be modified, just pop an IR filter on the front of any lens and its ready to shoot immediately, so two cameras in one effectively, which softens the blow when factoring in the cost of the thing!

Anyway here are a few images taken around the temples of Angkor Wat and the famous Ta Prohm (Tomb Raider) temple one morning earlier in the week, all shot with the Leica M8 and Voigtlander Heliar 15mm F4.5 II lens using an R72 infrared filter.

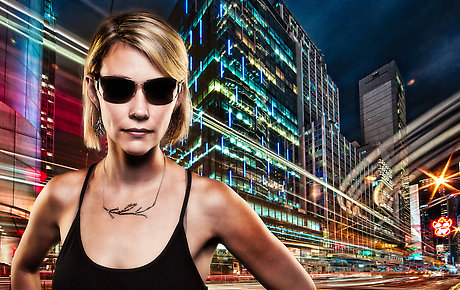
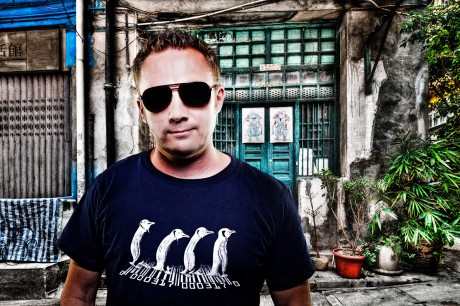
No time to pose downtown?.....quick shot in the studio...then photoshop....

We often get clients who want dramatic photographs with spectacular backdrops, but more often than not there can be several variables that make this style of shoot a mission impossible: The weather, the lighting, the fact that most people just don't have the time in their busy schedules to go to the locations, and we also don't always have time to scout the locations thoroughly in advance.

Therefore, we have taken a leaf out of Joel Grimes book, as we really like his style, it kind of fits with some of our other work, sometimes dark and contrasty images with funky lighting, so we thought "hey why not, lets apply these techniques to corporate and commercial portraiture".

So far it has generated a fair bit of interest from several of our big clients, so we will keep on building up our library of backdrops around asia and we can shoot the clients anywhere they want, in their office, in the studio, anywhere that's convenient to them, using a three point edgy lighting technique and a low compression HDR background, giving a realistic but edgy look to the portrait.

Here's a few of our test images, some look better than others, its a work in progress....but great fun and everyone who appears in these images absolutely loves them!

Special thanks to Geoff & Justine for being our 'guinea pigs' for several of the test shoots.

justinetown.jpggeofftown.jpggeoffportra-1.jpgAN_central1-Edit.jpg

HDR and flash composites...

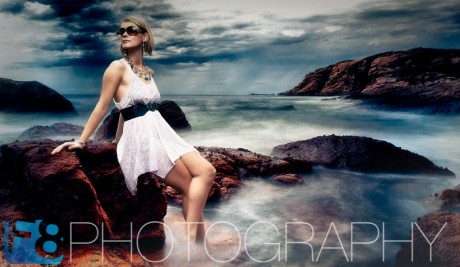
Well we heard there was a typhoon inbound early on Saturday morning so we headed off to the beach to try and capture a few portraits with dramatic skies before the weather turned bad....actually the typhoon never arrived, although some great weather was to be found in Shek O nevertheless. Heres the results: